reMarkable Custom Templates. Make and Download
Quick jump to:
The Remarkable e-ink tablet offers a remarkable note-taking experience, and one way to make it even more personal and functional is by adding custom templates. This unique manual will guide you through the process of creating and adding your very own custom templates to your Remarkable 2.
Making reMarkable Custom Templates
We have two ways to make template for your reMarkable.
Manual way is creating template using your favorite app for example Adobe Photoshop:
Prepare Your Custom Template
- Sketch Your Design: Grab or your favorite drawing app to sketch out your ideal template design. Consider the layout, ruling style, headers, and any other elements you'd like to include.
- Digital Design: Once you're satisfied with your sketch, transfer it to a digital format using your preferred graphic design software. Remember to use the Remarkable 2's screen size as a reference (1872 x 1404 pixels).
- Choose File Format: Save your design in PNG or JPG format. These formats work best for the Remarkable 2's e-ink display.
Easiest and fastest is using Customizable Planners. We'll talk about it in the next paragraph.
reMarkable Customizible Planners
You don't have to know how to work with Photoshop, Illustrator, Corel Draw etc...
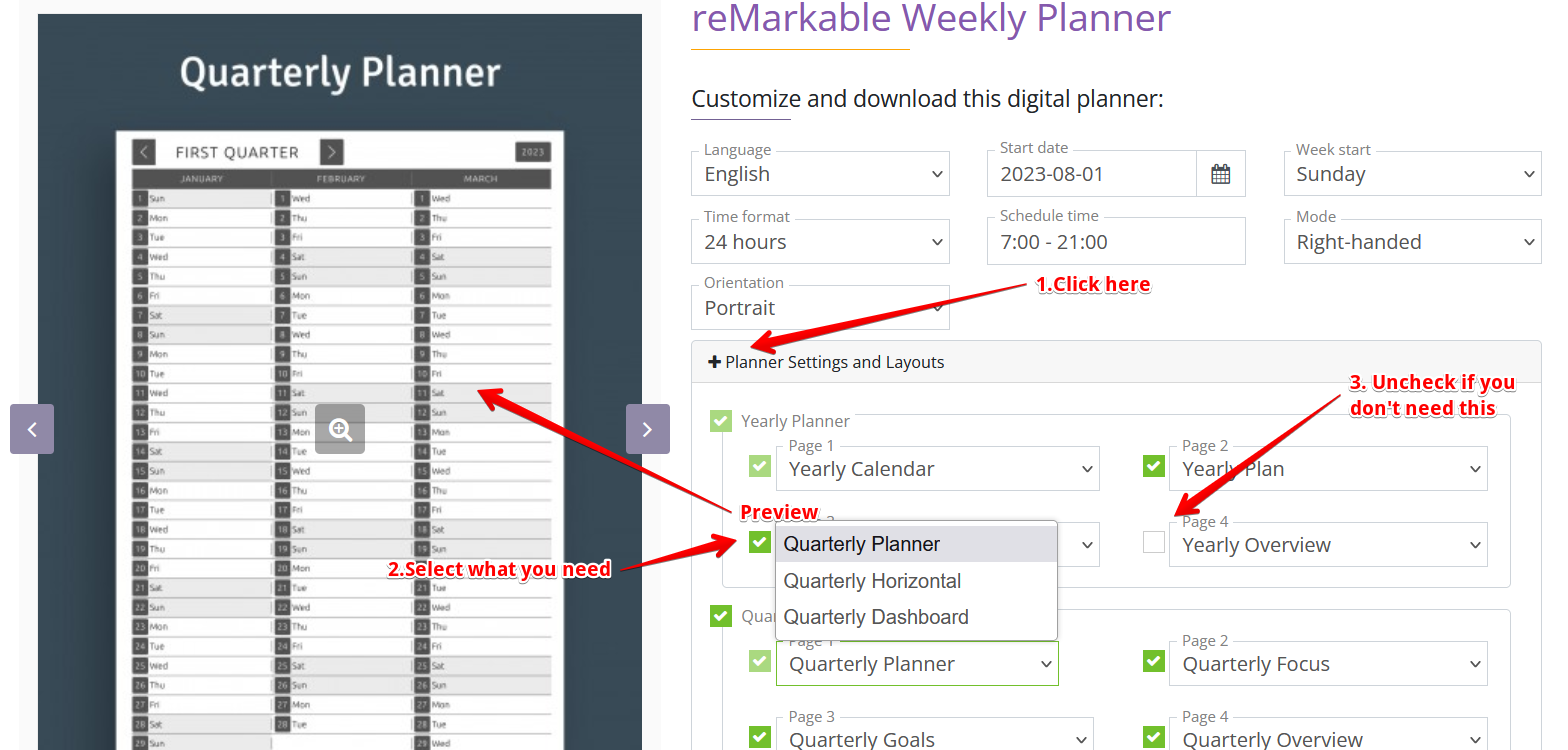
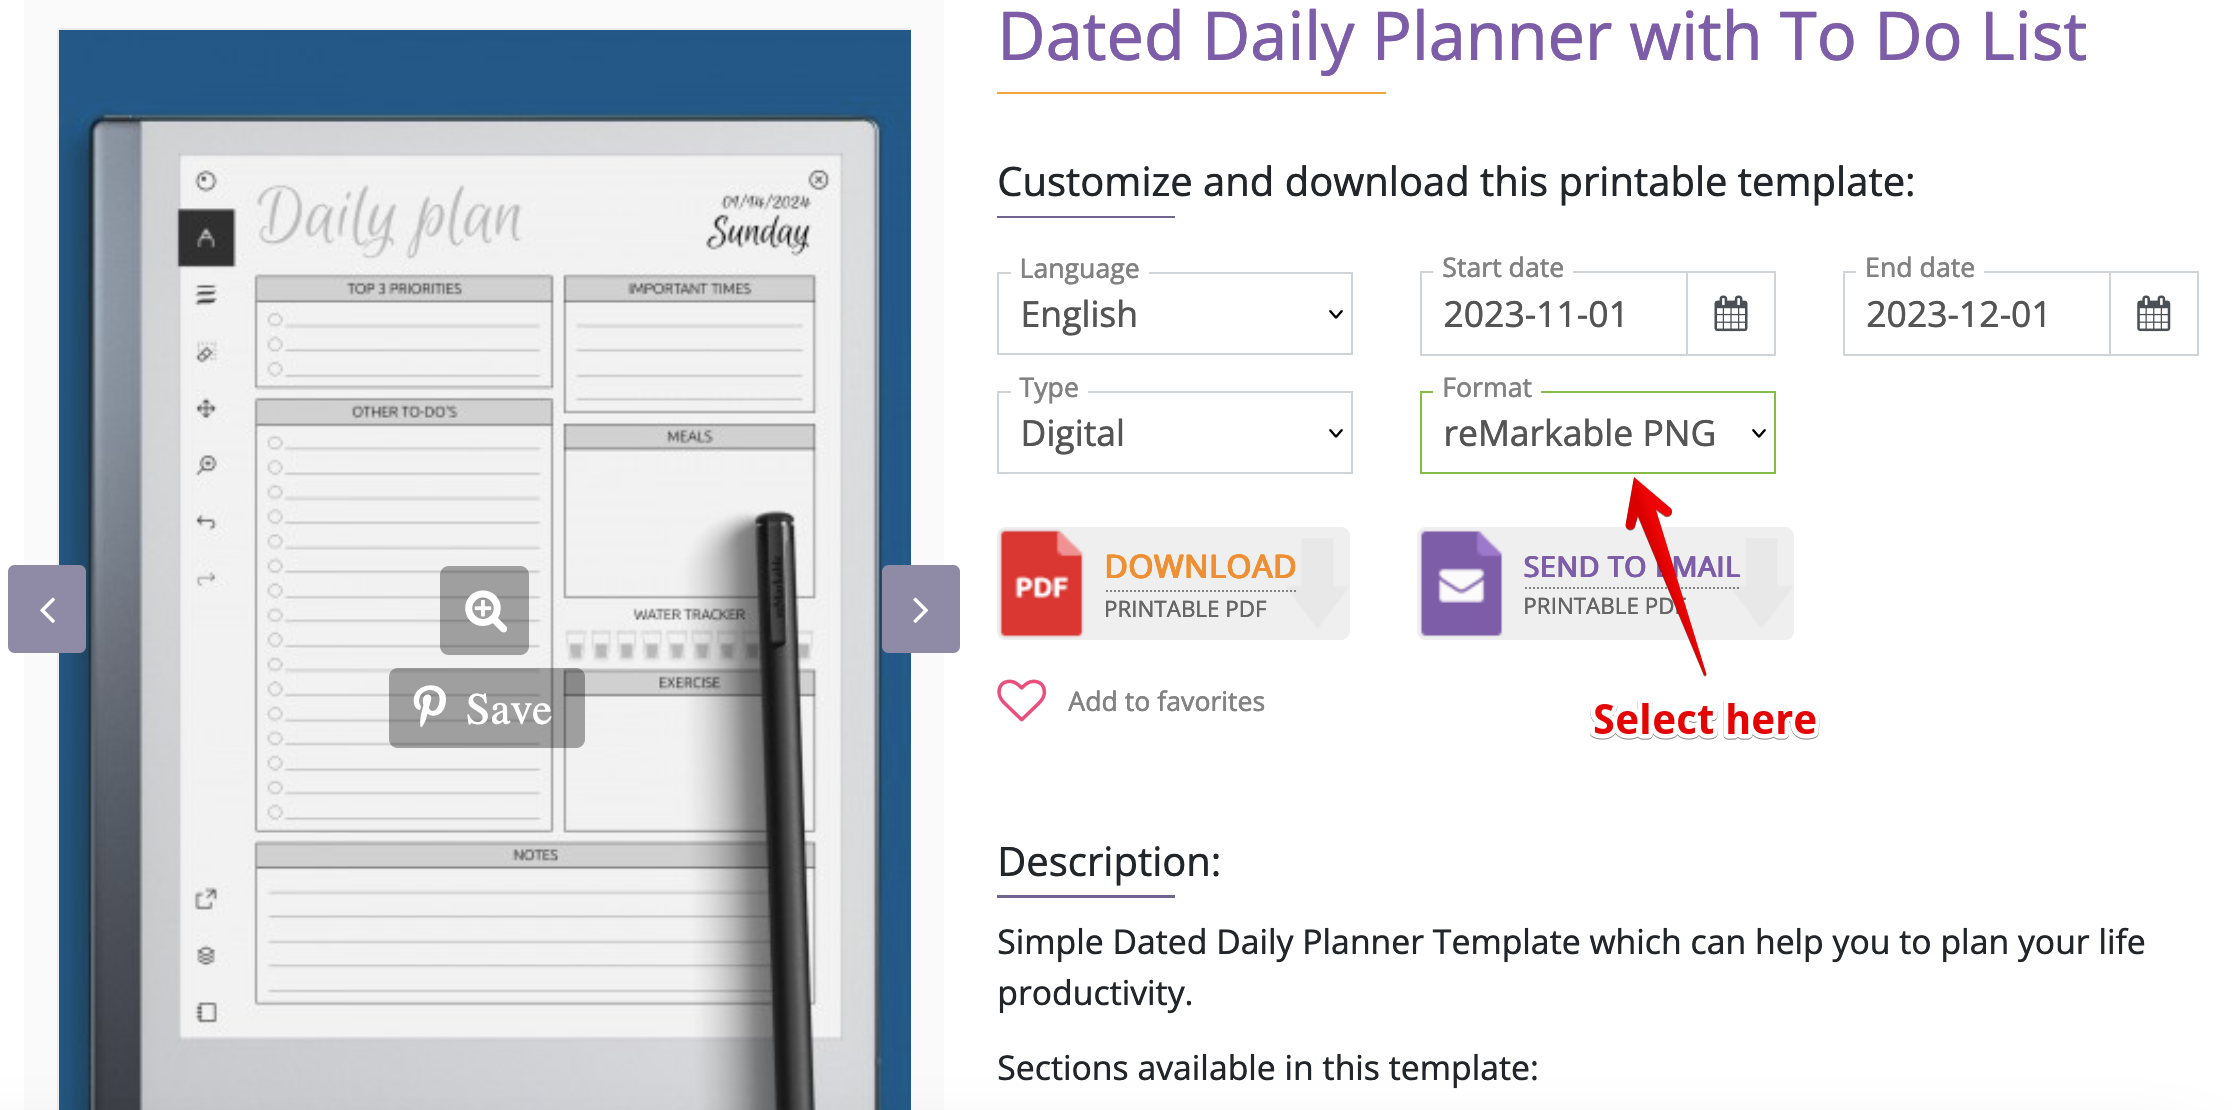
Just go to the Planner page and select main parameters of a planner. E.g Language, Start and End Date, Hours Format, Starting hour of day, etc.
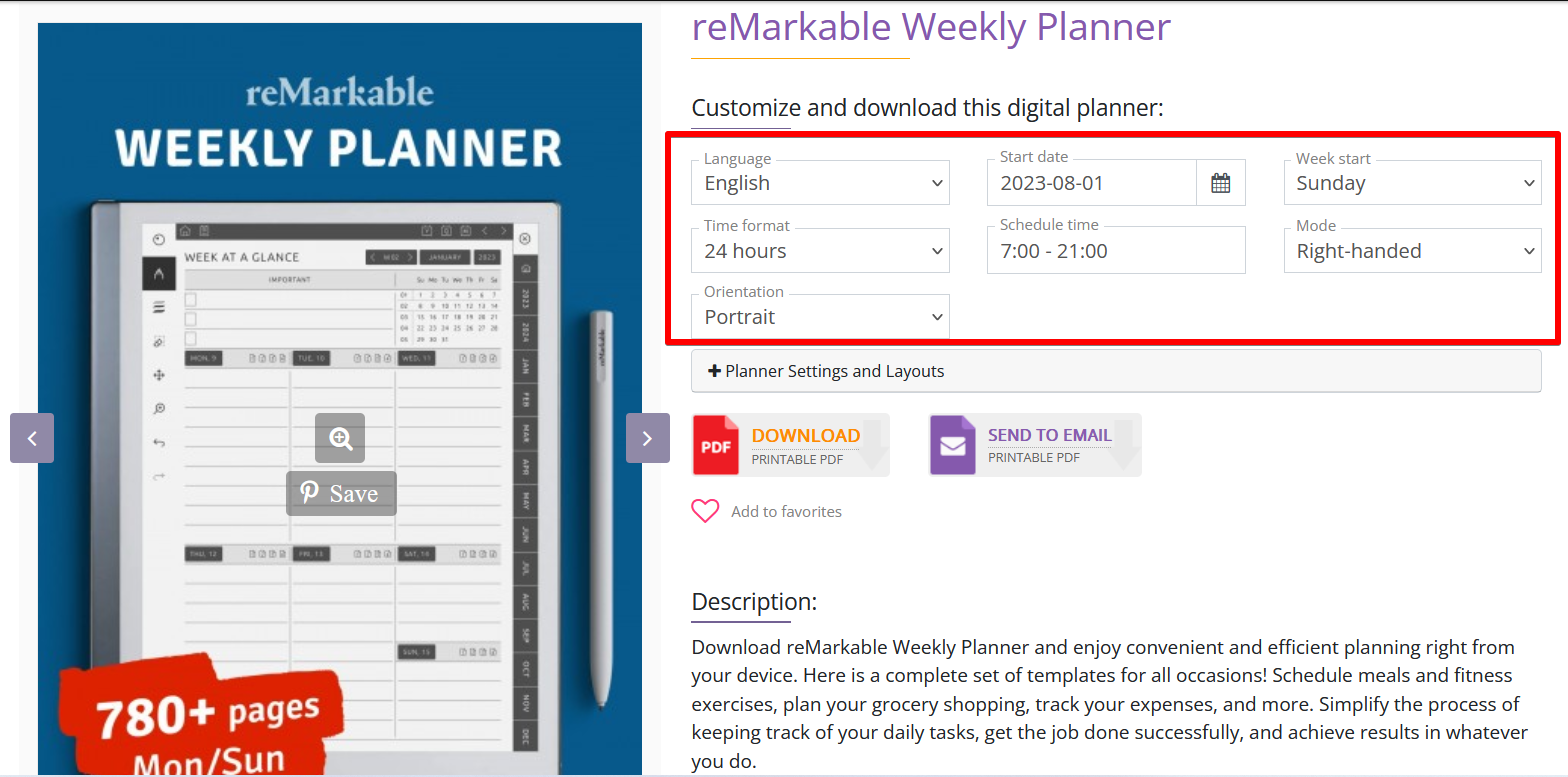
Then choose layouts and uncheck what you don't need in your new planner. It's simple to anyone, but your planner will contain only pages what you need without nothing else.
Then press “Download” Button and transfer PDF to reMarkable memory.
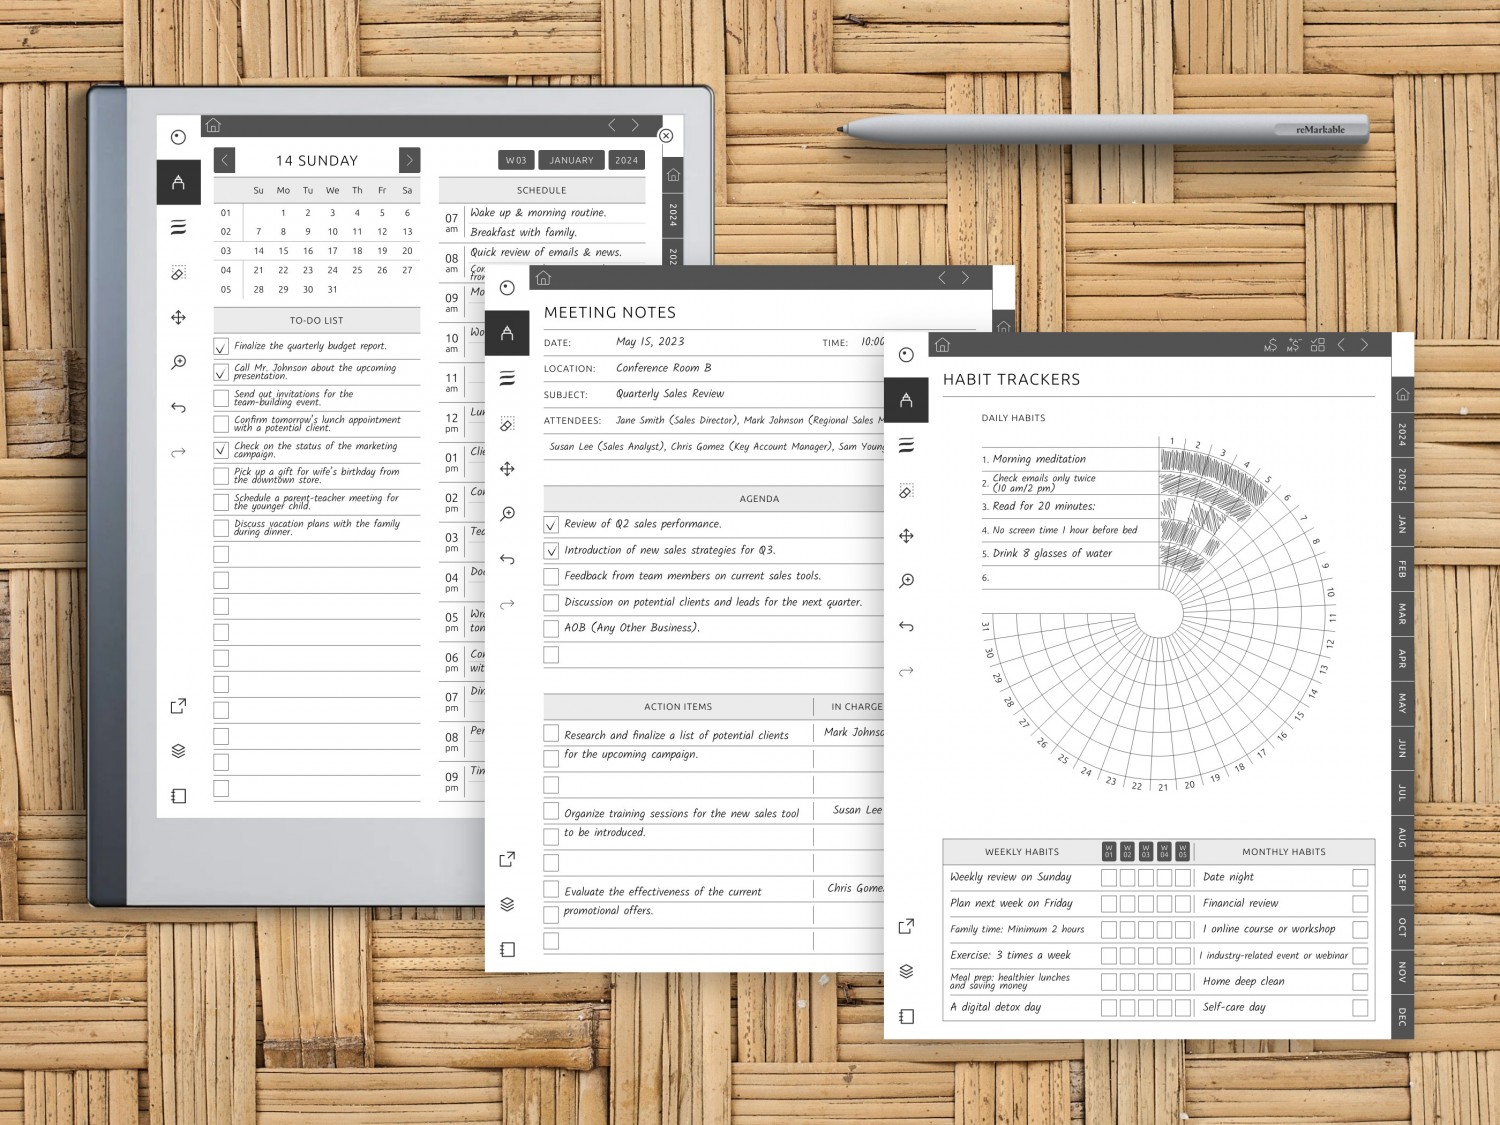
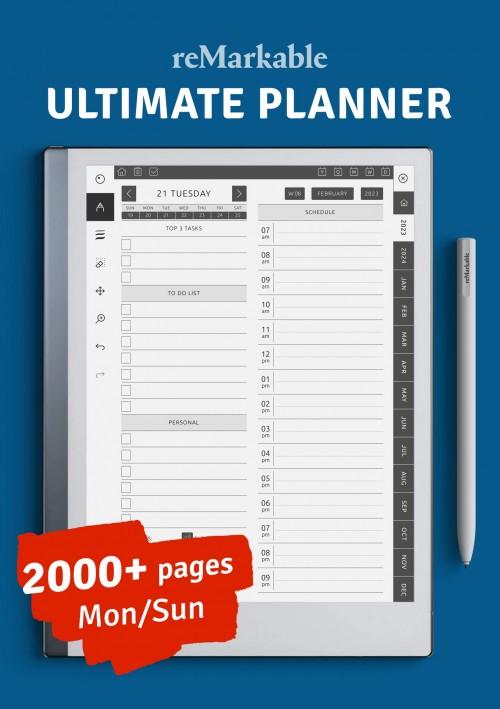
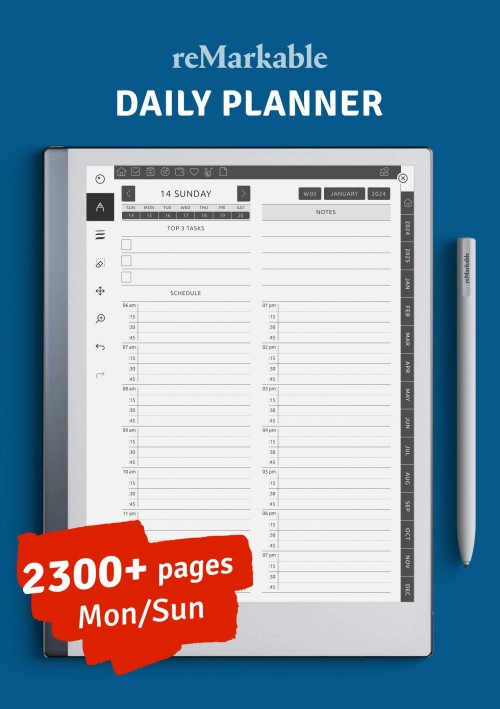
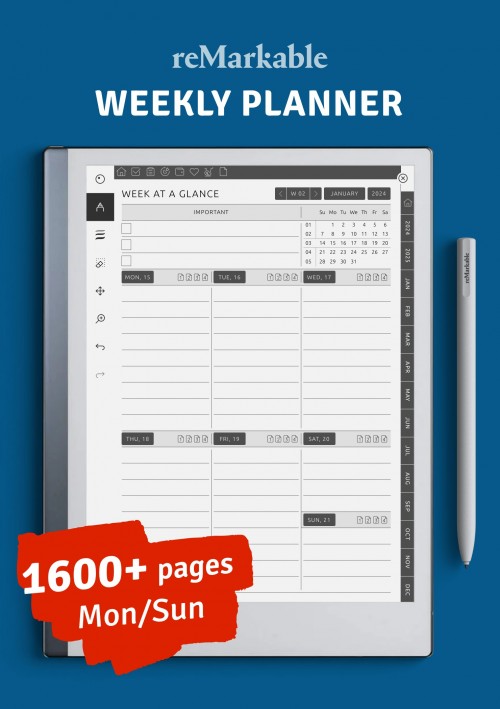
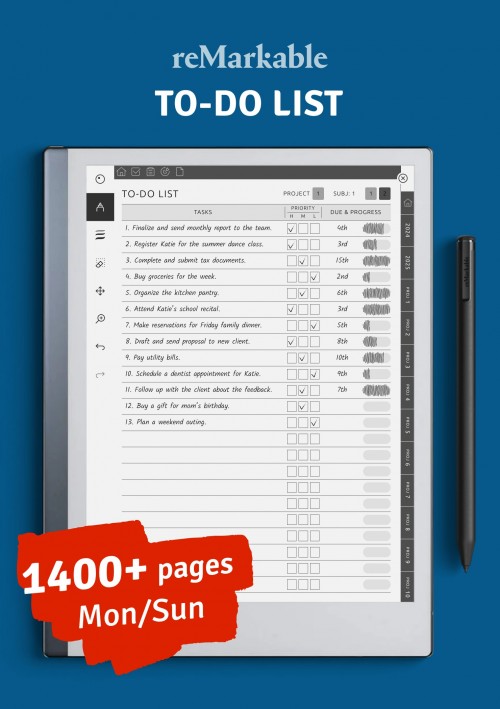
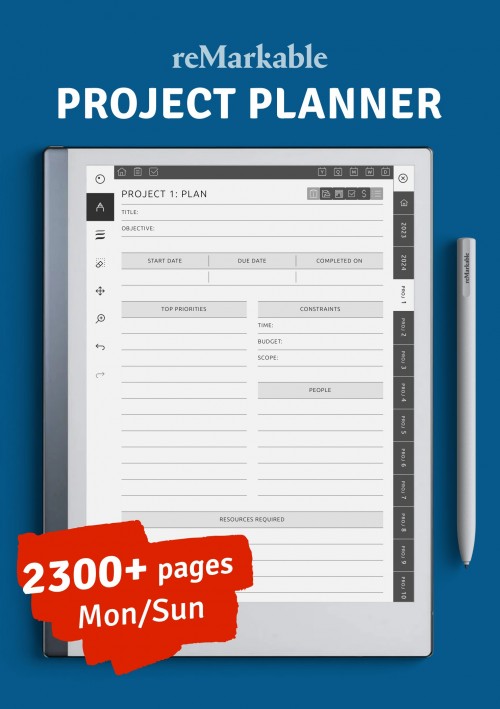
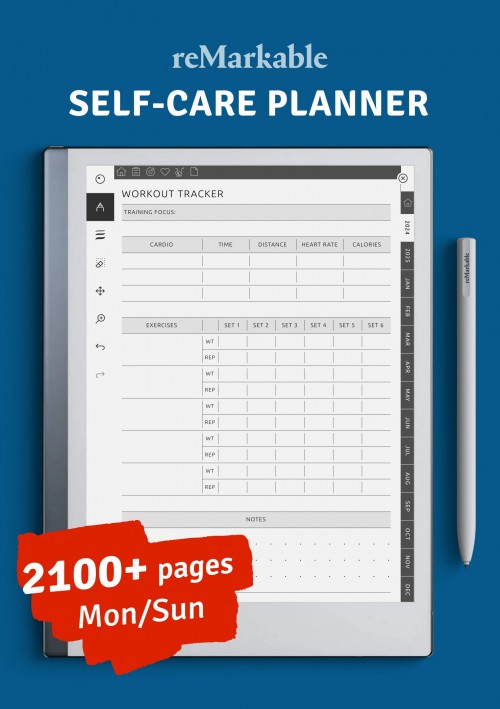
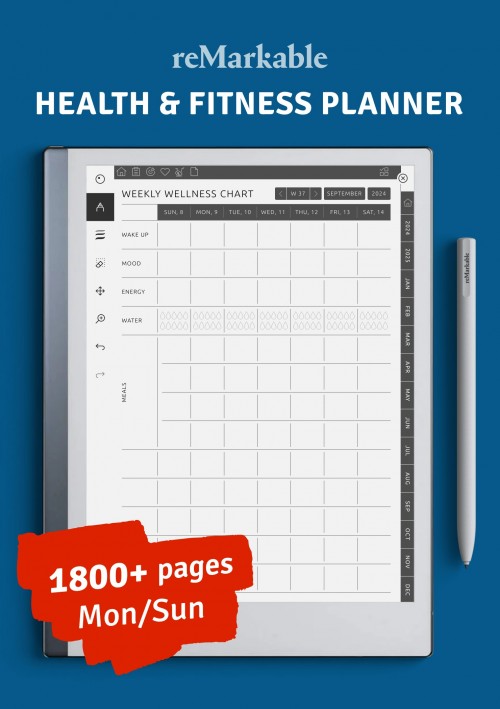
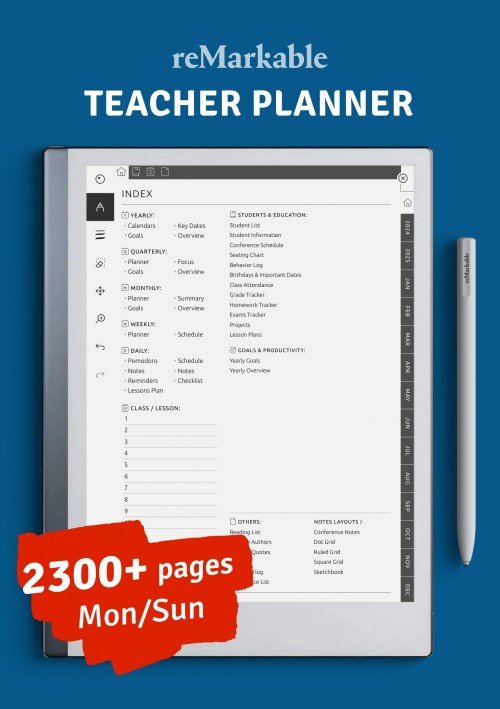
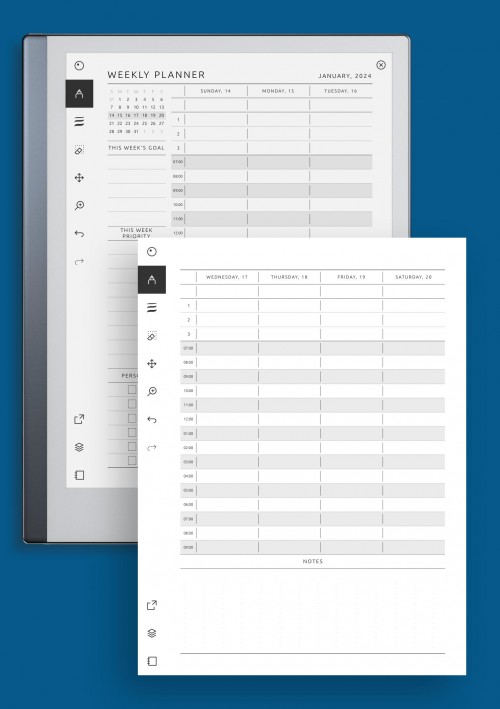
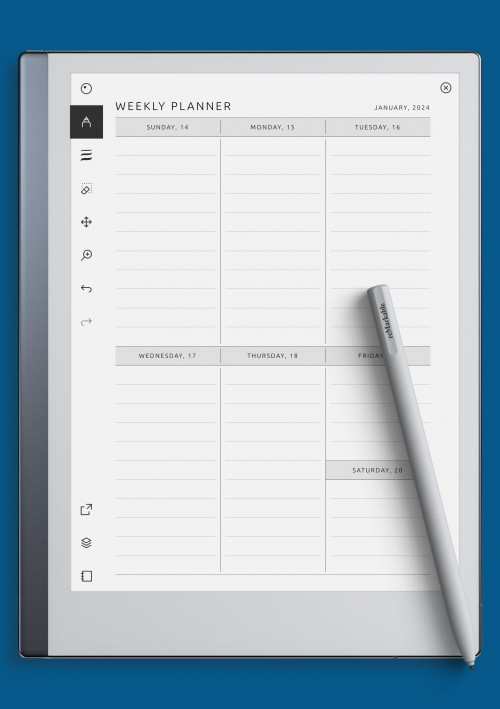
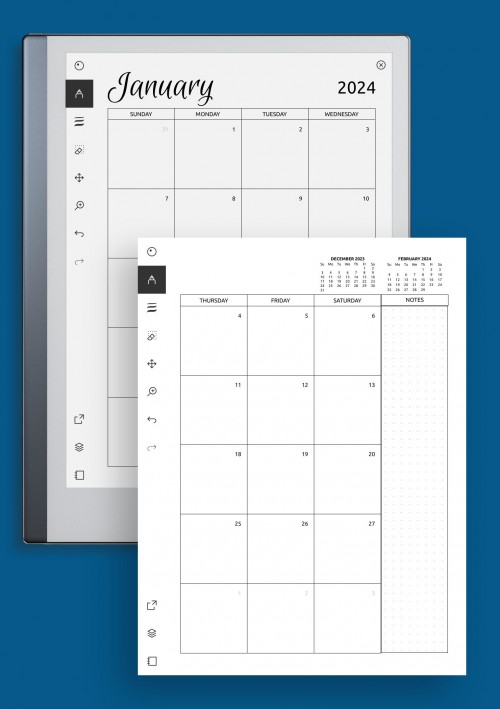
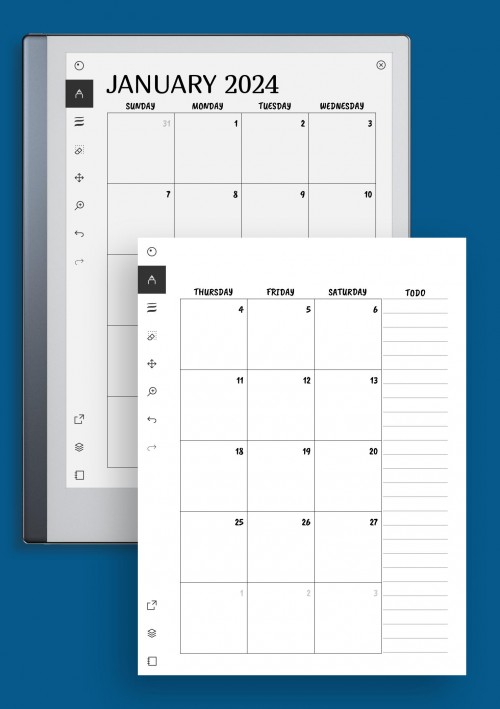
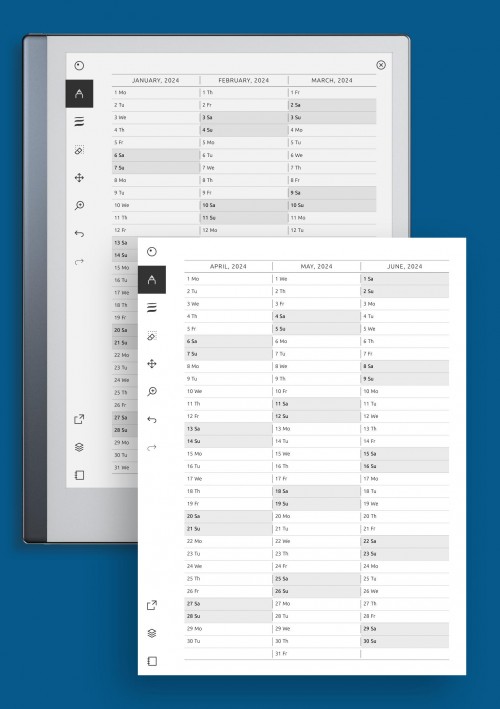
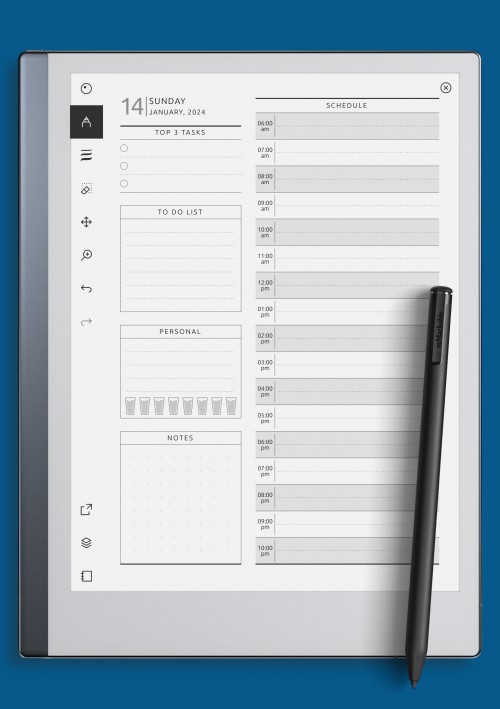
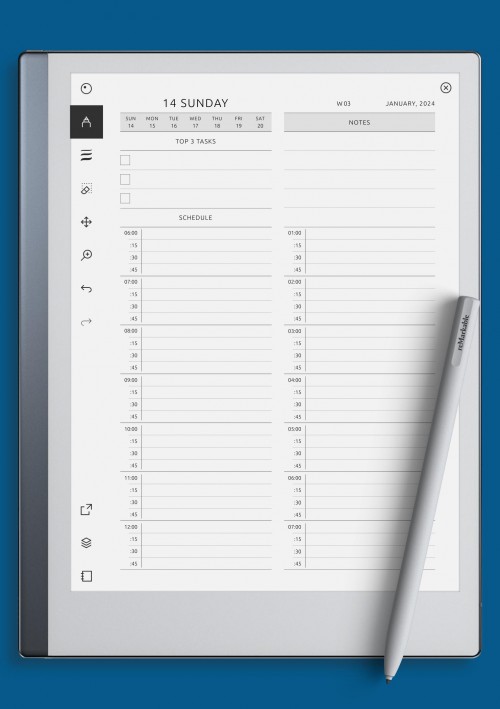
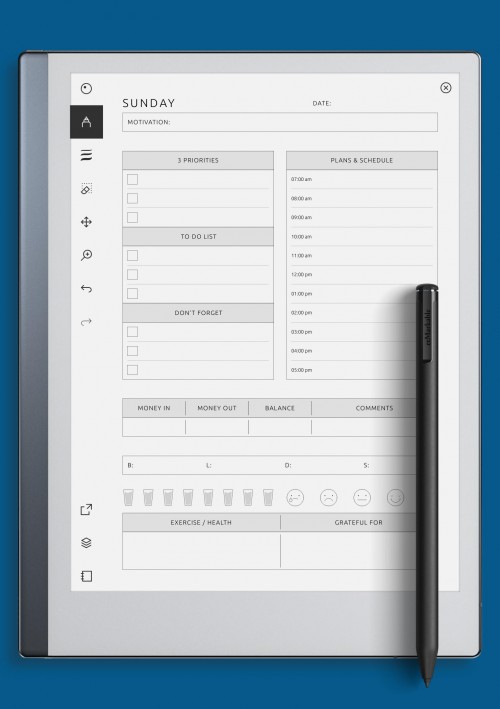
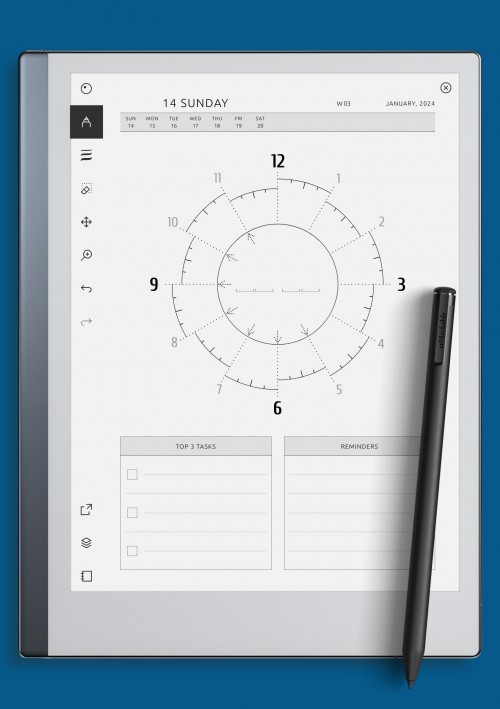
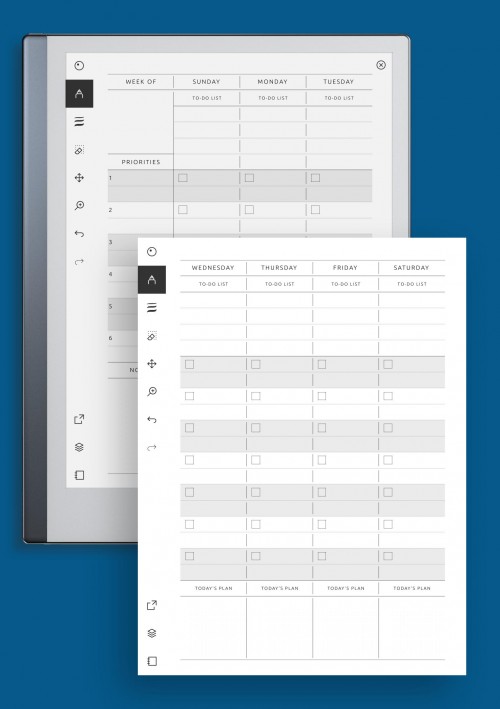
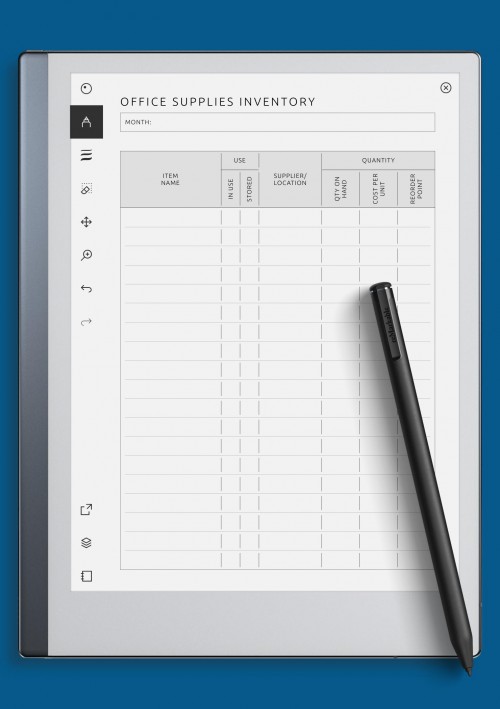
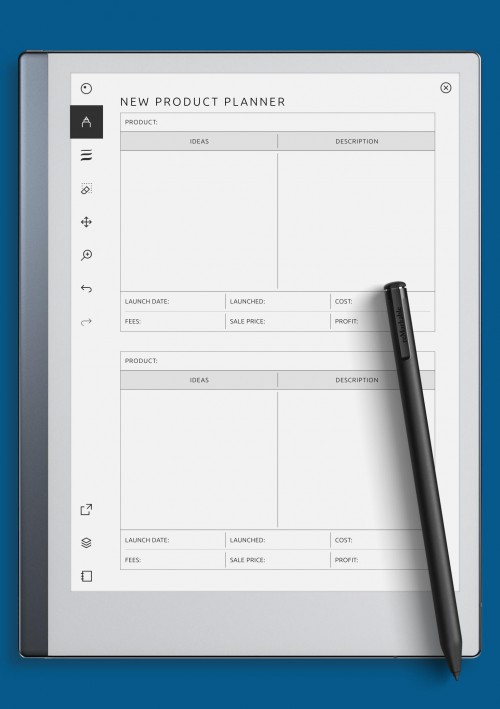
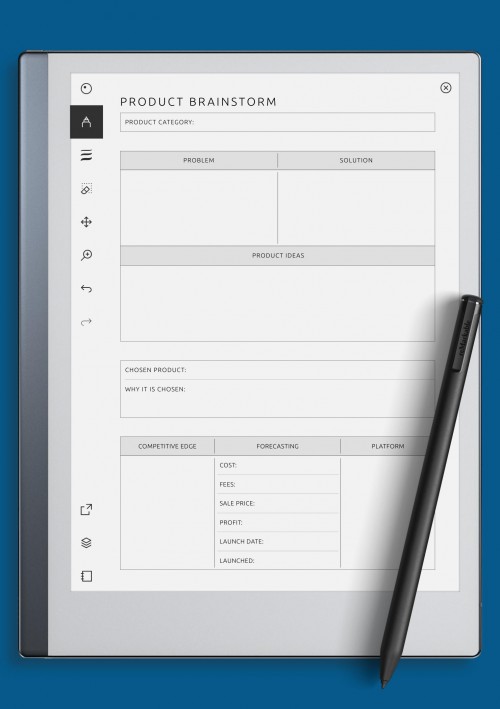
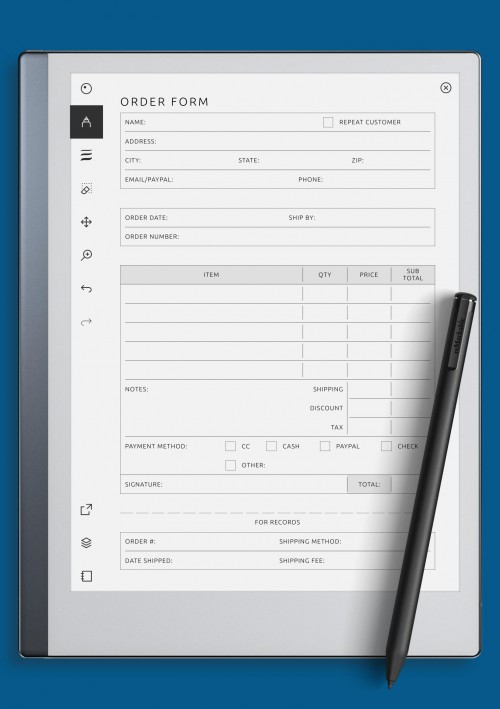
Below you see a selection of the most popular customizable planner. Choose and use!


reMarkable Editable Templates
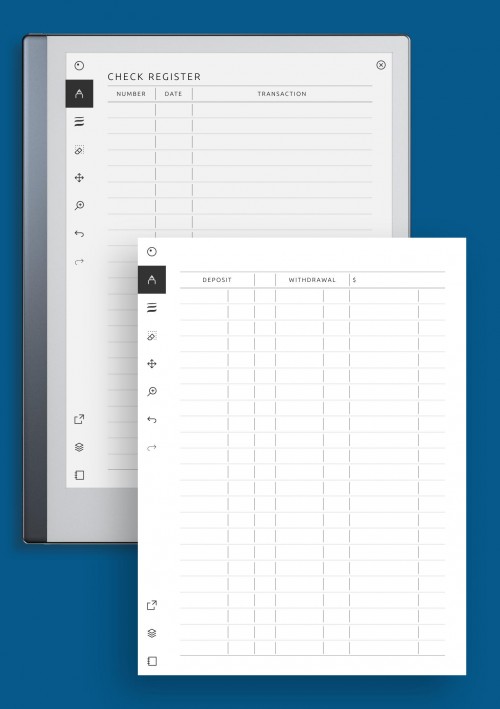
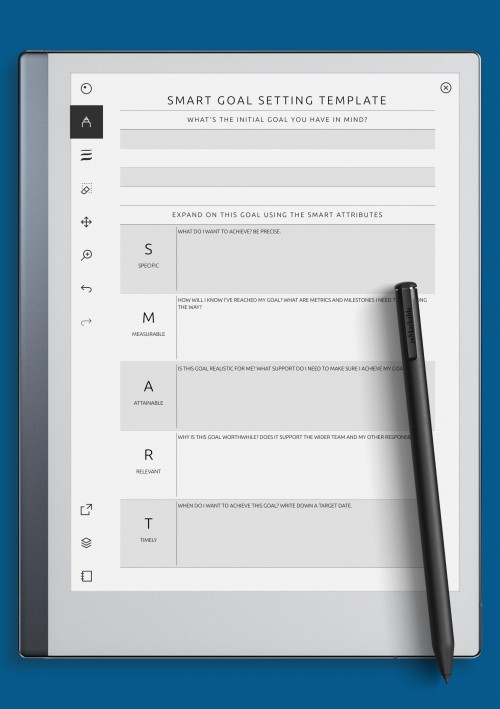
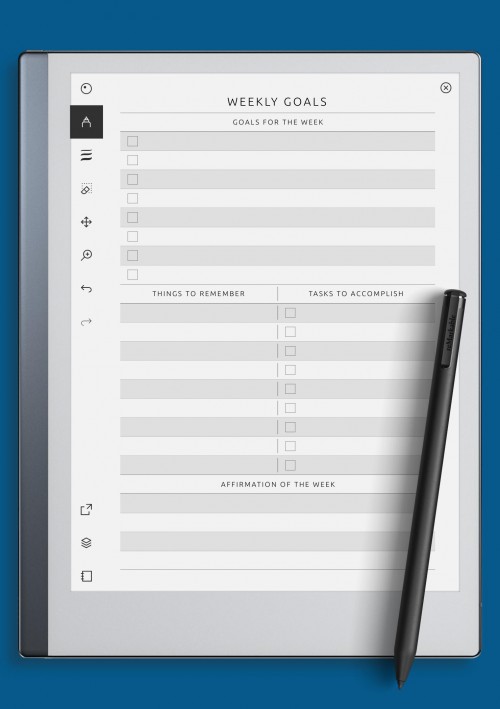
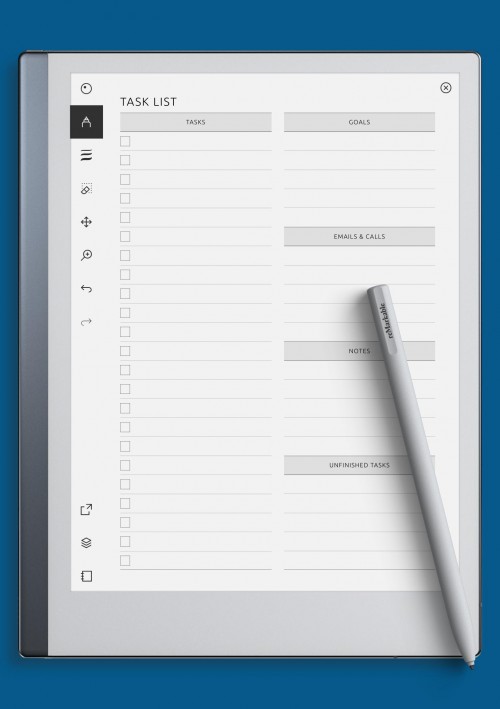
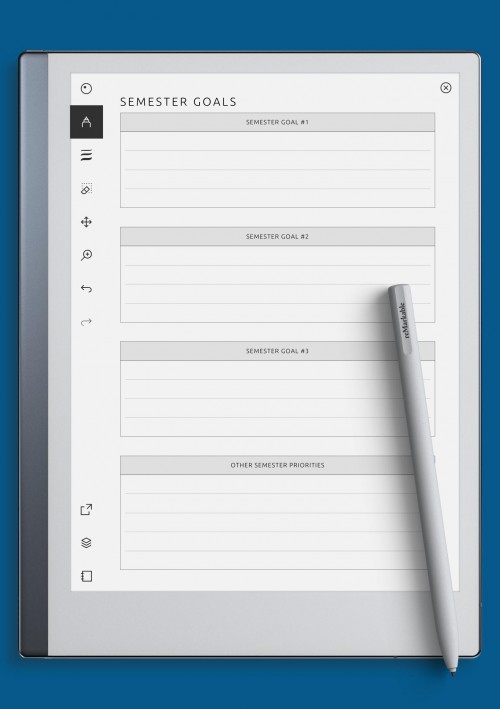
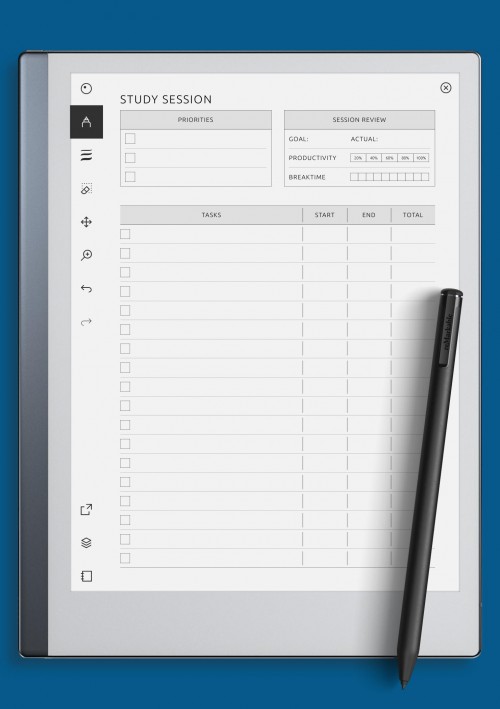
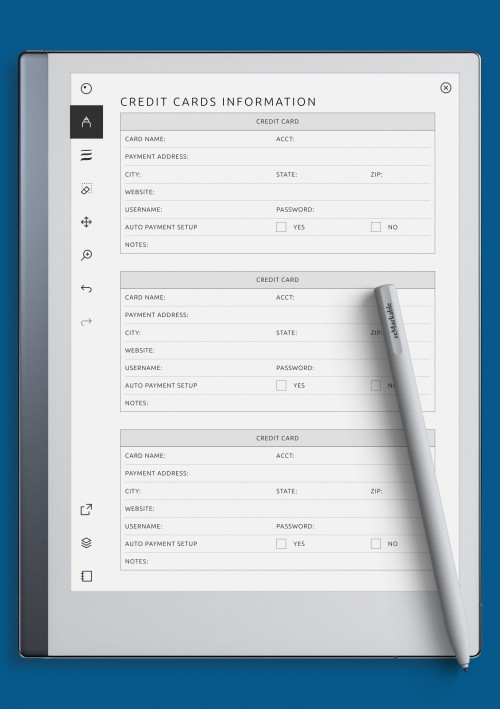
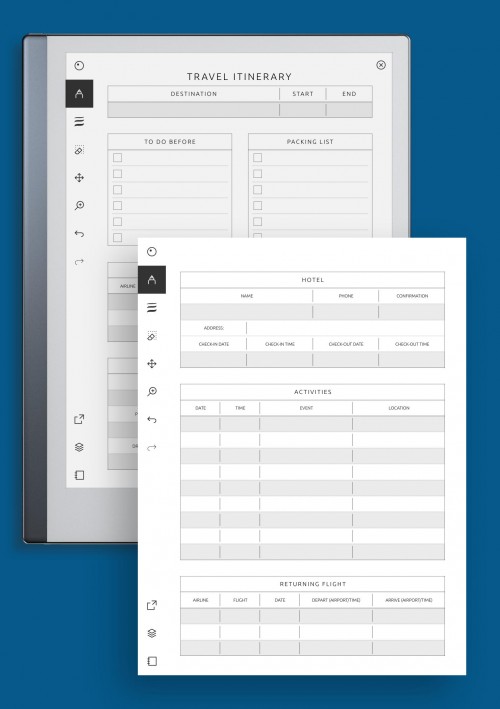
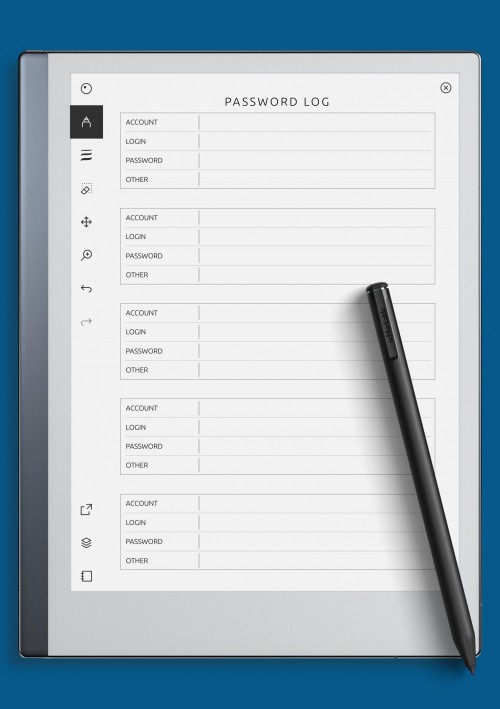
These templates are available in PDF and PNG format. So you can use it like planners or separated templates. Enjoy the best in categories:
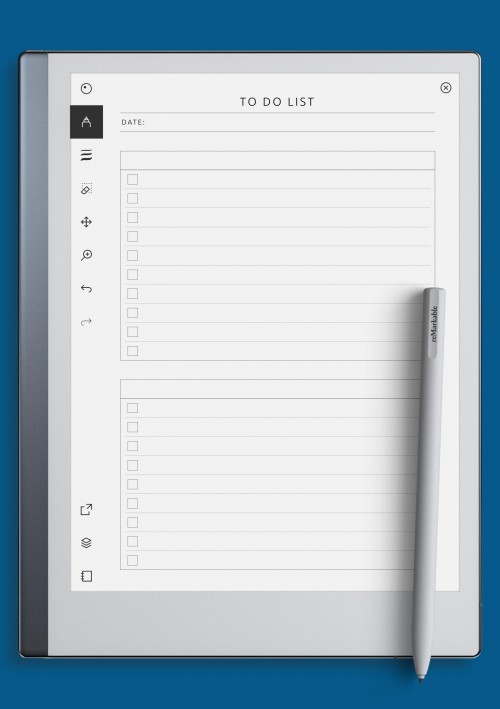
- Daily Templates,
- Weekly Templates,
- Monthly Calendars,
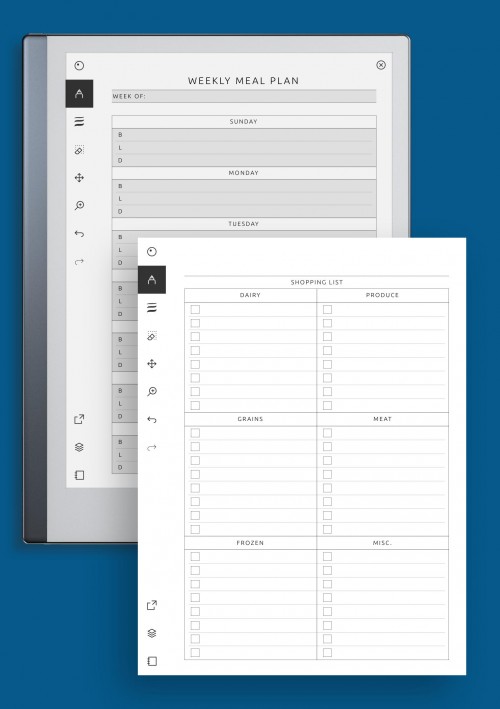
- Meal planner Templates,
- Budget Templates,
- Goal Templates,
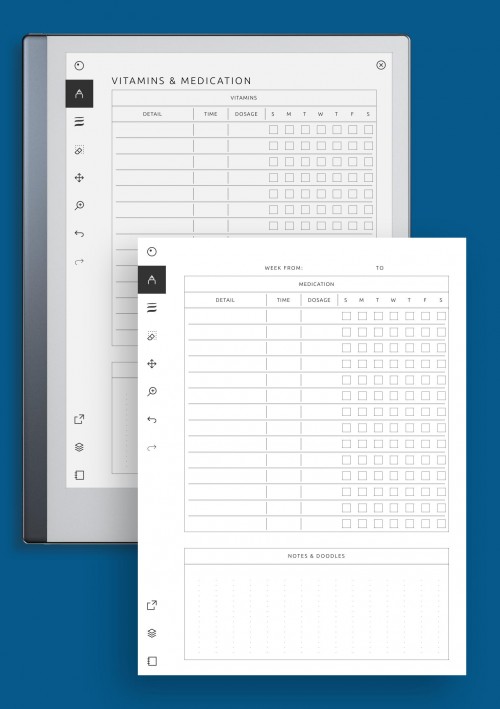
- Health and Fitness Templates,
- Work & Business Templates,
- Templates for Students, Teachers,
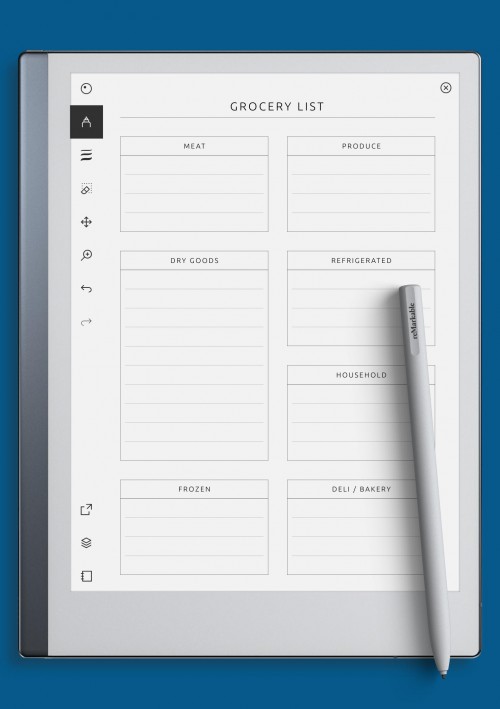
- Trackers, logs, etc...
To download templates in PNG format, just select this like on screenshot below.
Look at collection. Select items and download. Then we'll talk about how to install templates to your reMarkable 1 or 2.


How to Install Planner Templates to reMarkable 2
Step 1: Establish Connection
Connect USB: Use the provided USB cable to connect your reMarkable to your computer. Ensure both devices are powered on. Device Recognition: Your computer should recognize the reMarkable 2 as an external storage device.
Step 2: Create Custom Templates Folder
Explore Storage: Open your computer's file explorer and navigate to the reMarkable 2's storage.
Create Folder: Within the root directory, create a new folder named "templates" (without quotes).
Step 3: Transfer Custom Template
Copy Template: Locate the custom template you designed (PNG or JPG) on your computer.
Move to Templates Folder: Drag and drop the custom template into the "templates" folder on your reMarkable.
Eject Safely: Safely eject the reMarkable 2 from your computer to ensure all changes are saved.
Step 4: Refresh Template Library
Access Settings: On your reMarkable, open the main menu and tap the gear icon for "Settings."
Select Templates: In the Settings menu, choose "Templates."
Update Library: Tap on "Refresh" or "Update" to refresh the template library. Your custom template should now be included in the list.
Step 5: Apply Custom Template
Open Notebook: Launch the reMarkable 2's notebook to create a new page or open an existing one.
Open Template Menu: Tap the three horizontal lines (hamburger icon) at the top left corner to access the menu.
Choose Template: Select "Template" from the menu options.
Select Custom Template: Your custom template should be visible in the list of available templates. Tap on it to apply it to the current page.
And that's all. Your Templates installed and ready to use!
How To Make reMarkable Custom Templates Manually
To create custom templates for your reMarkable tablet, follow these steps:
- Choose a design program: You can use any design program that allows you to create a PDF file. Some popular options include Adobe Illustrator, Sketch, Figma, or even Microsoft PowerPoint.
- Set up your document: Create a new document with the dimensions of the reMarkable tablet, which is 1404 x 1872 pixels for the reMarkable 2 and 1872 x 1404 pixels for the reMarkable 1. Set the resolution to 226 pixels per inch (PPI).
- Design your template: Use the design program to create your custom template. You can add lines, grids, and any other elements you want to include on your template. Keep in mind that the reMarkable uses grayscale, so any colors in your design will appear as shades of gray.
- Export your design as a PDF: When you're finished designing your template, export it as a PDF file. Make sure that the PDF is the correct size and resolution.
- Transfer the template to your reMarkable: Connect your reMarkable tablet to your computer using the USB cable. Transfer the PDF file to the "templates" folder on your reMarkable.
- Import the template into your reMarkable: On your reMarkable tablet, go to "Settings" and then "Template." Click on "Import," and select the PDF file you just transferred to your device. Your custom template should now be available to use.
That's it! You can now use your custom template on your reMarkable tablet. Just select the template from the list of available templates when creating a new document.
Conclusion
Congratulations! You've successfully added your unique custom template to your Remarkable 2, enhancing your note-taking and productivity experience.
Feel free to create multiple templates for different purposes, be it journaling, to-do lists, project planning, or anything else that suits your needs. With custom templates, your Remarkable 2 becomes an even more versatile tool tailored to your preferences. Enjoy your creatively customized Remarkable 2!