How to Make a Digital Planner
Quick jump to:
Introduction
Digital planning is the most popular way to organize your life and business. Although we can easily type plans, schedules, or notes, many of us have realized that writing is a much better way to go. Therefore, the need for digital planners and notebooks that have all the advantages of old school writing paired with hyperlinks, digital stickers and printing has emerged. Many people create their own digital planners for themselves or sell on Etsy, but where should you start to create your own? Well, let's take a closer look.
How to Create Digital Planner Online?
If you want to save time and money, you can create your own planner within minutes using our platform and following the following simple steps.
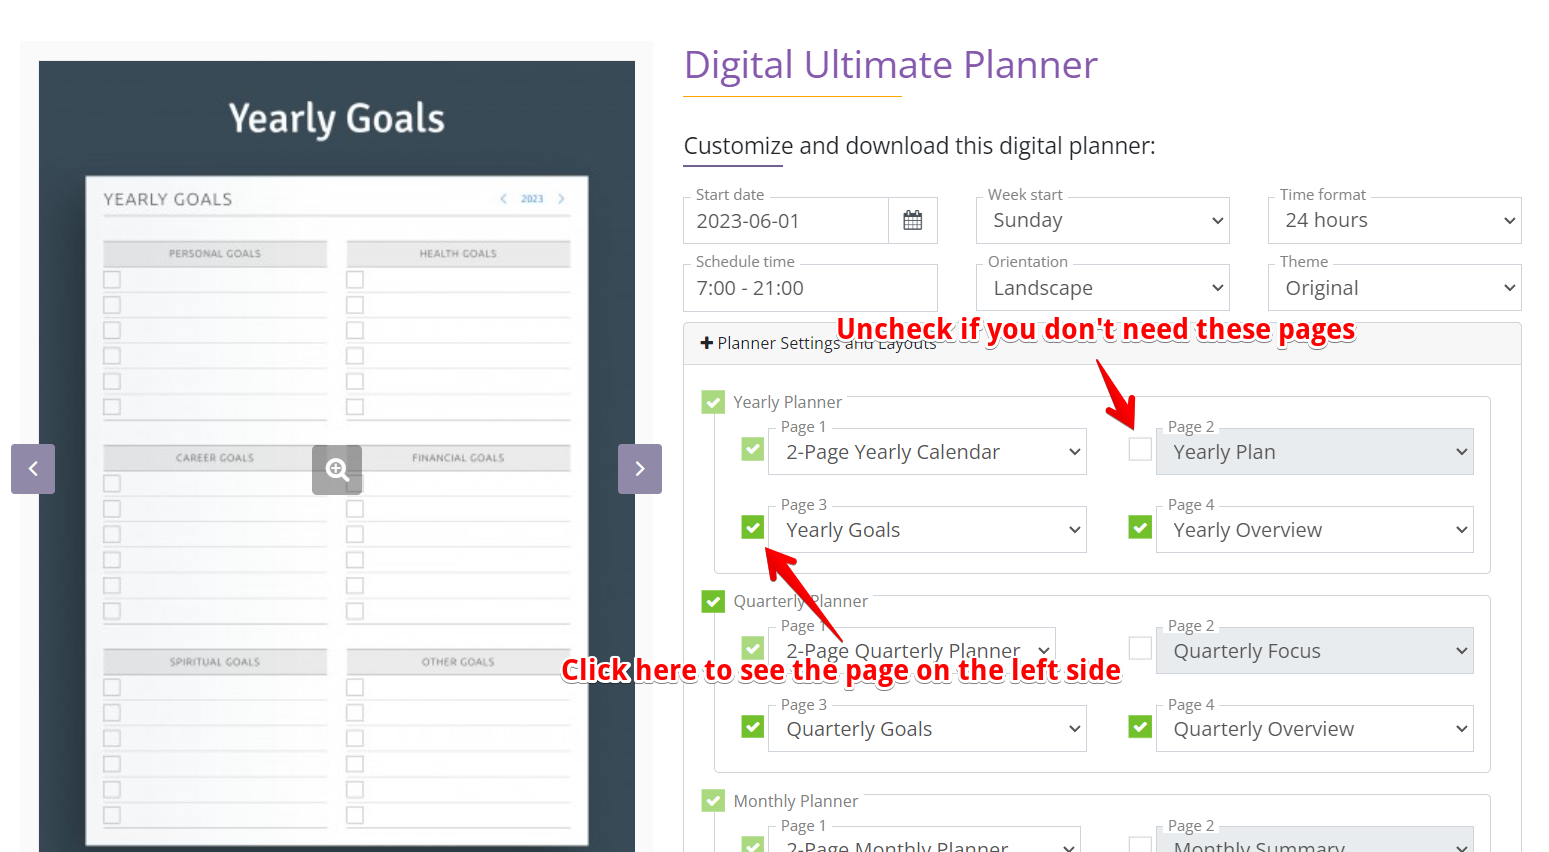
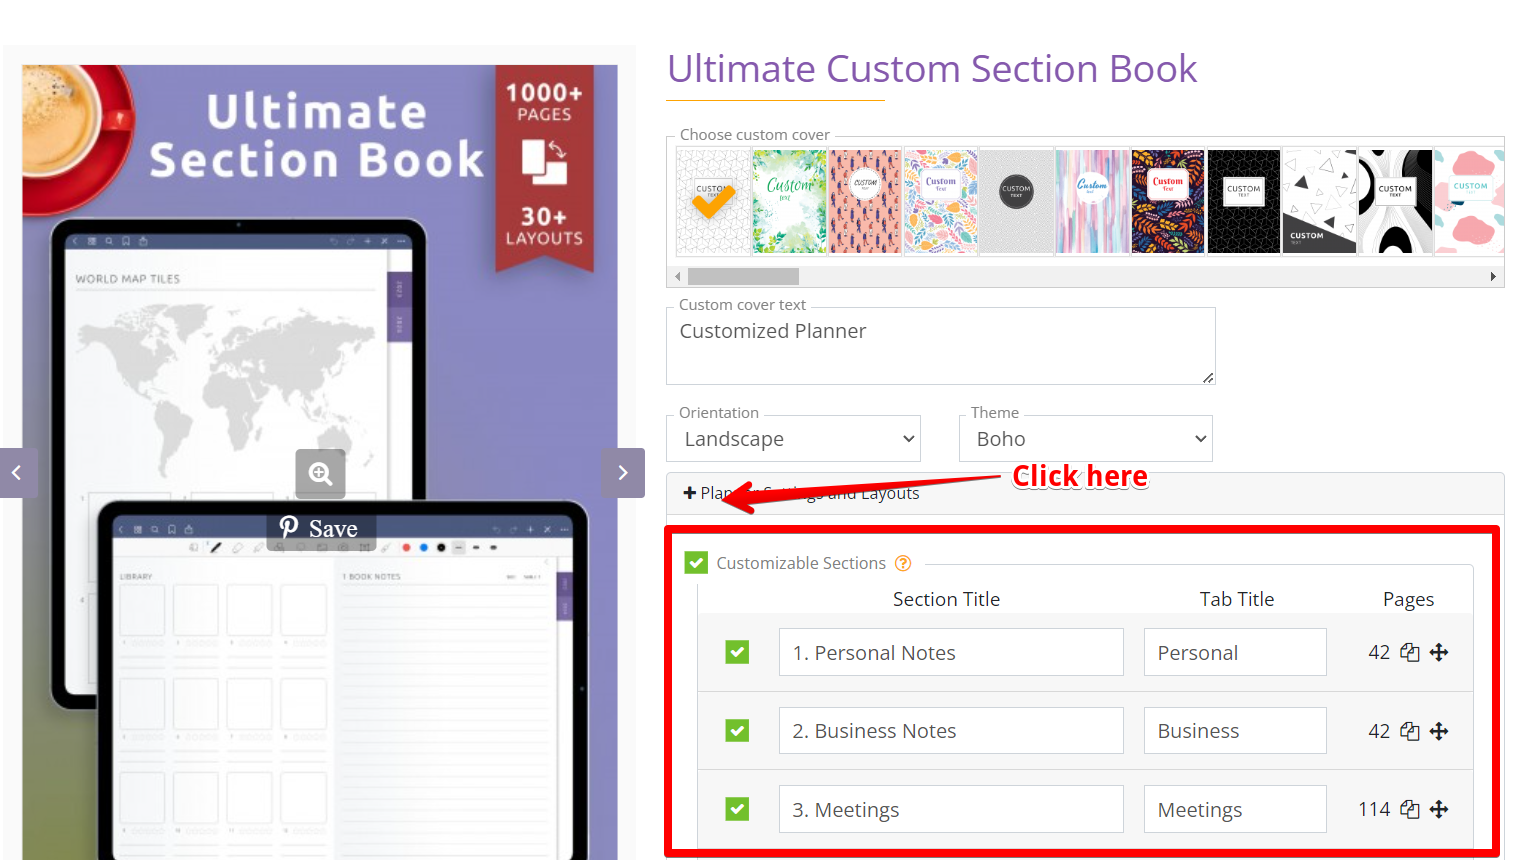
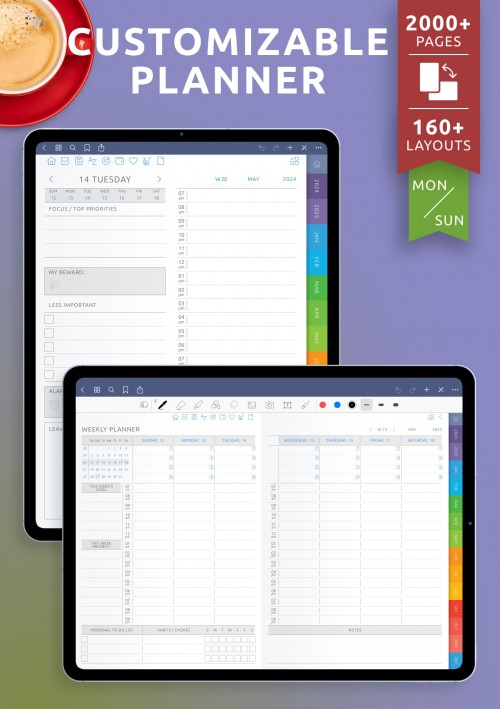
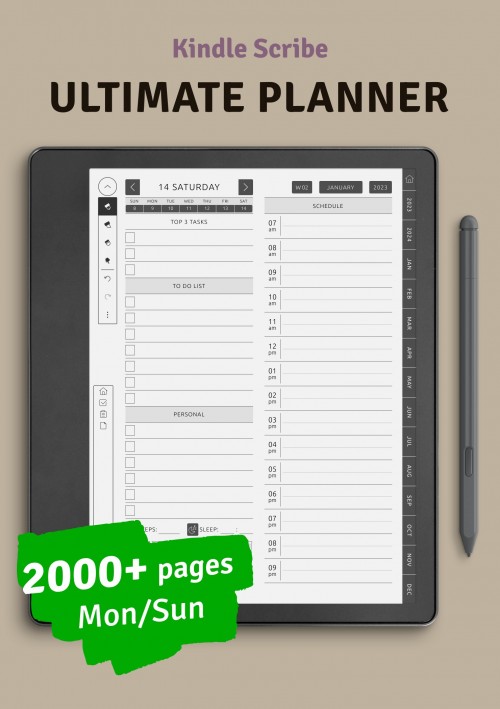
Since we cannot know what kind of planner you have in mind, let's take our comprehensive Ultimate Planner and see how you can customize your unique planner. Click on Planner Settings and Layouts to select your pages and sections.
Setting Up The Document
Select the Yearly pages. Click on the page title to see the options and choose. Let's assume that you want Yearly Goals and you click on it in the menu. The template image appears on the left. You can click on it to zoom in. Three out of four pages can be unchecked if you don't want them.
Go through the same procedure with quarterly, monthly, weekly, and daily pages.
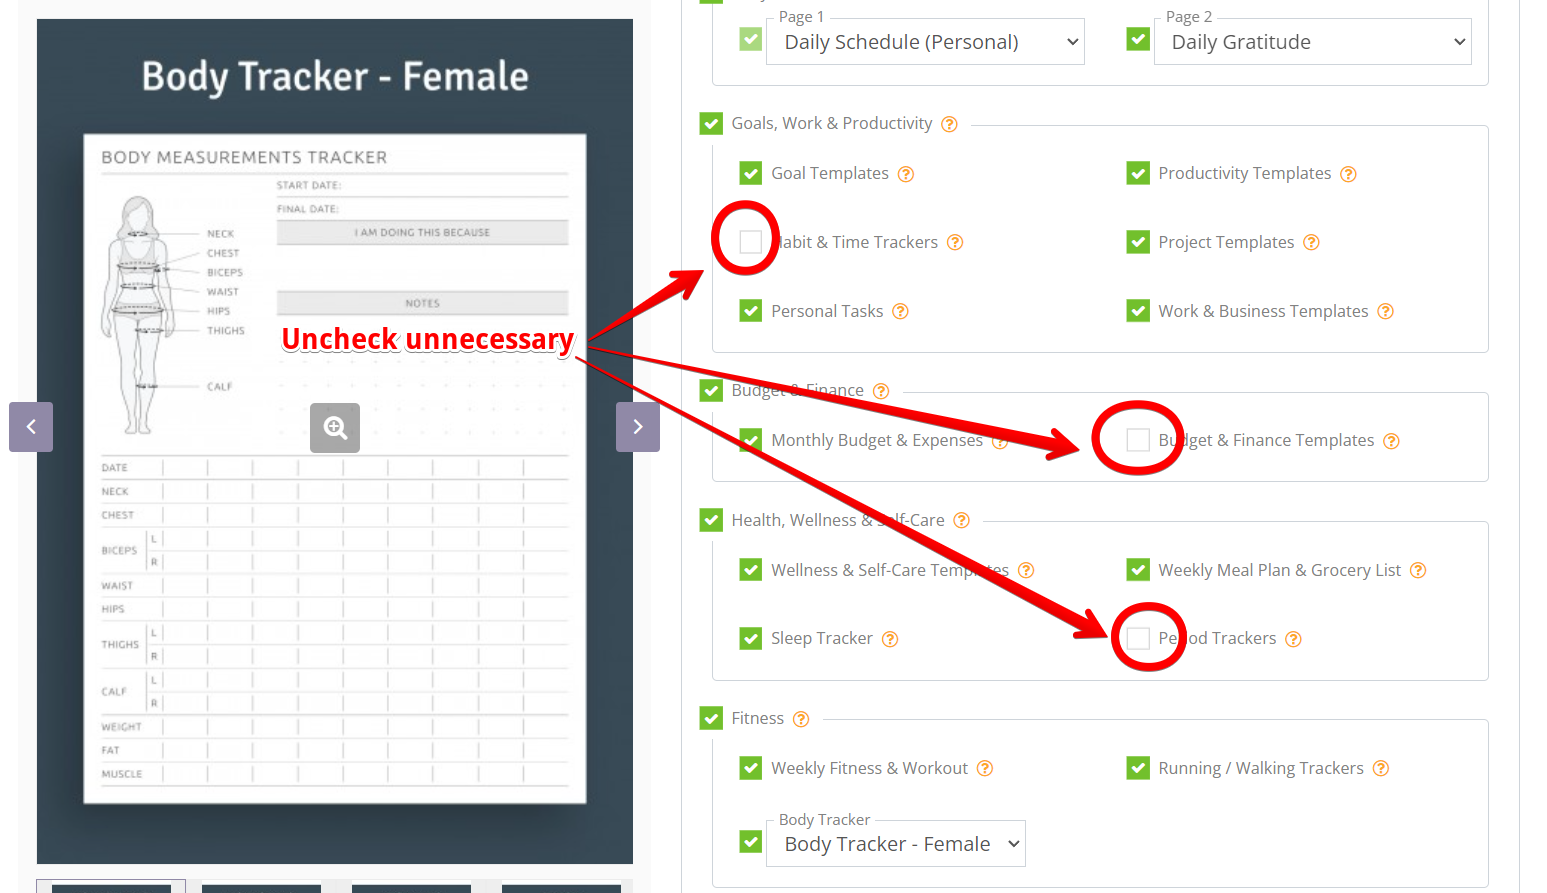
You can have the following sections in your planner: Goals & Productivity, Project, Finance, Health & Wellness, Fitness, and Others. These sections contain well-thought-through layout selections. Uncheck those sections or templates that are redundant for you. You can change your mind whenever you wish. Downloads are unlimited.
Hyperlinks For Navigation
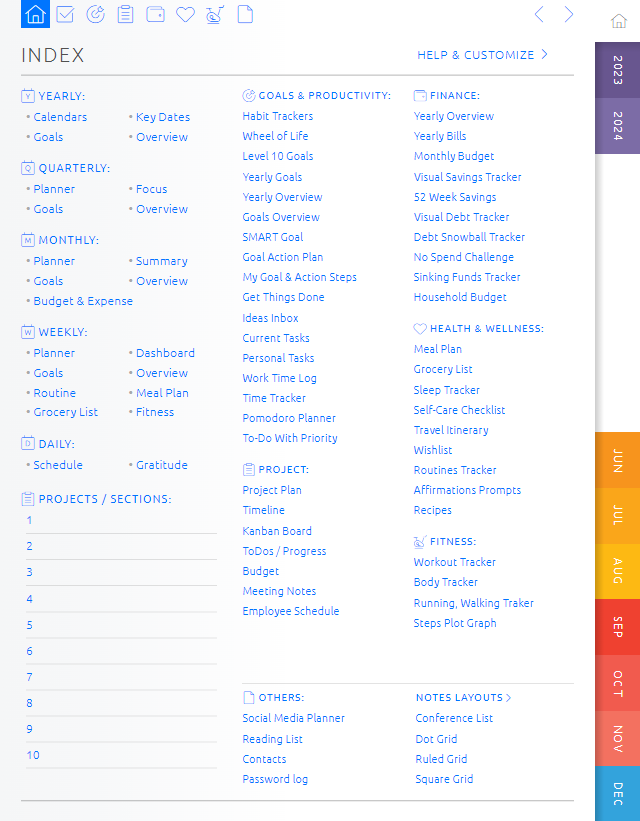
You do not need to waste your time adding links, making sure everything works as you wish, or mastering software. Instead, you will be able to customize your own planner, knowing that all of the above has been taken care of, and then you will be able to use it right away. Your planner will have intuitive tabs that are always available to get you from one page to another with as few clicks as possible.
How to Make Digital Planners with Custom Tabs?
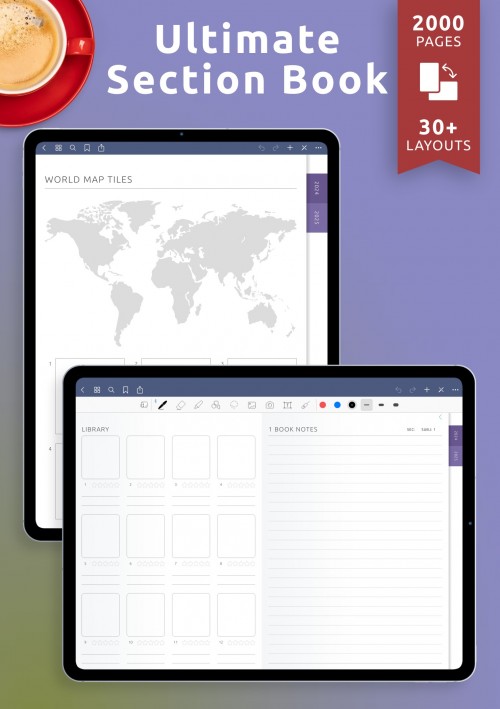
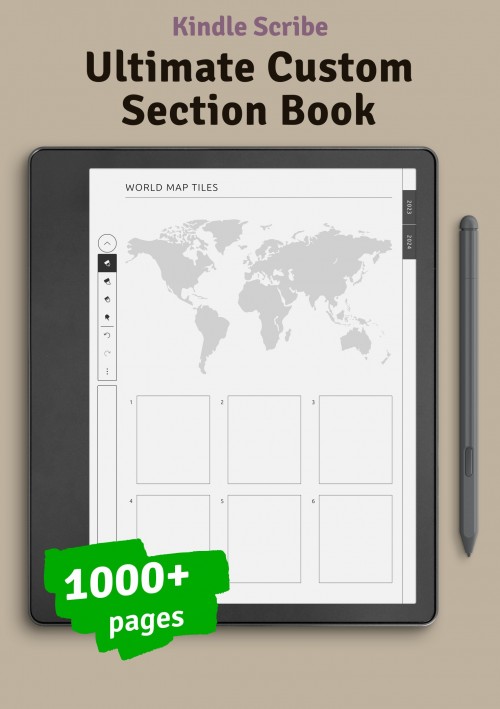
Our best-selling planners like the Ultimate Planner have customizable sections and tabs. There are limits to the number of sections and pages i.e. the custom sections in the Ultimate Planner can be 400 pages max. If you want to make a robust digital planner with custom sections, you can do so with the Ultimate Custom Section Book which has a page limit of 2000 pages. Nevertheless, the customization process is the same.
Let's see how to customize Custom Sections. You can see the Section Title fields you need to fill out if you wish, or you can have the default settings. You can have up to 20 sections in the Ultimate Custom Section Book (by default). If you wish to have all 20 of them, we recommend that the tab titles be less than or equal to 6 characters. The fewer sections, the longer the tab titles can be (in 10 sections, 14 characters is the limit).
After you click on the title field, you will see the section's additional fields coming down. These fields include Section Index Page, Number of Subjects, and four checkboxes for pages one to four. In the Section Index Page field, you have two choices: Index pages and Item pages. The first choice is whichever index page you like. For example, you need a section for your clients or contacts and select Contacts 20 Names for the Section Index Page. Then you can choose Client Profile for one of the section pages.
Creating tabs for sections
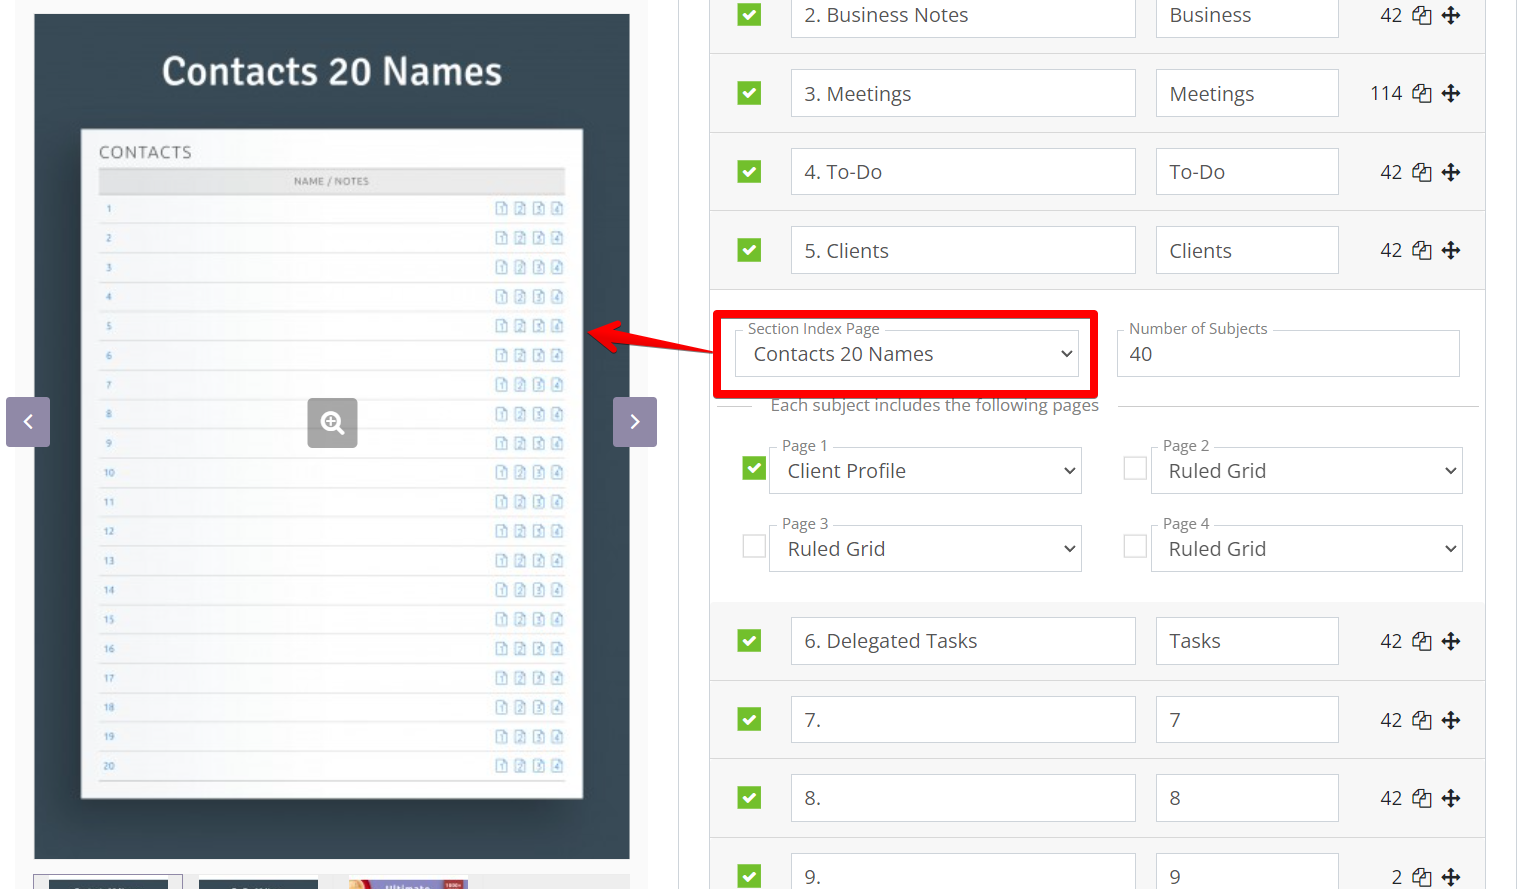
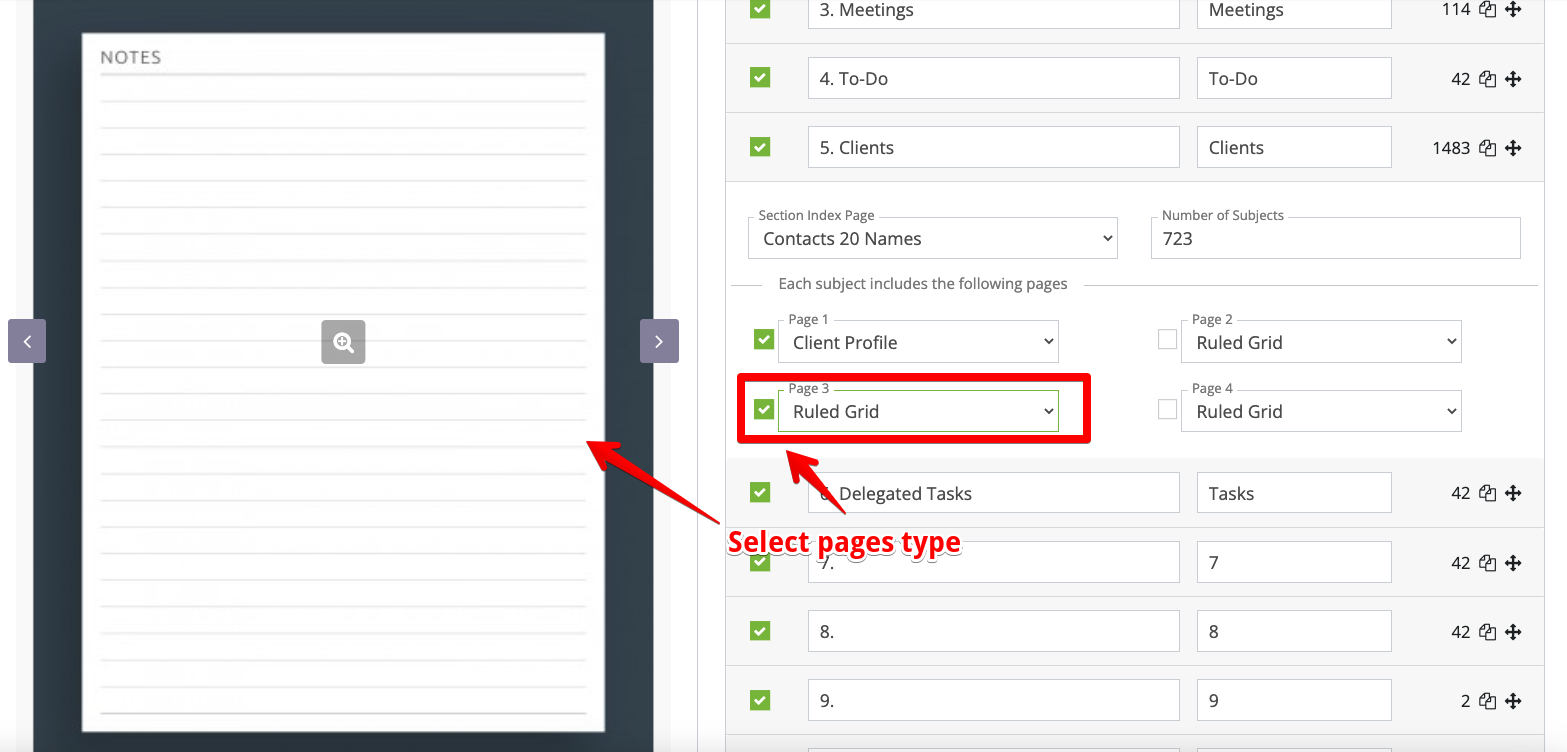
You should indicate the Number of Subjects i.e. the number of subjects on your section index page that will have hyperlinks to pages one to four with the checkboxes. (There will be an additional index page if the number of subjects exceeds the number on the index page.) You can uncheck some of them if you do not need all four, and choose the right template for each checked one (there are dozens of templates to choose from). The second choice is to select a template from Item Pages and enter the number of pages with this template you wish to have in the Number of Subjects field.
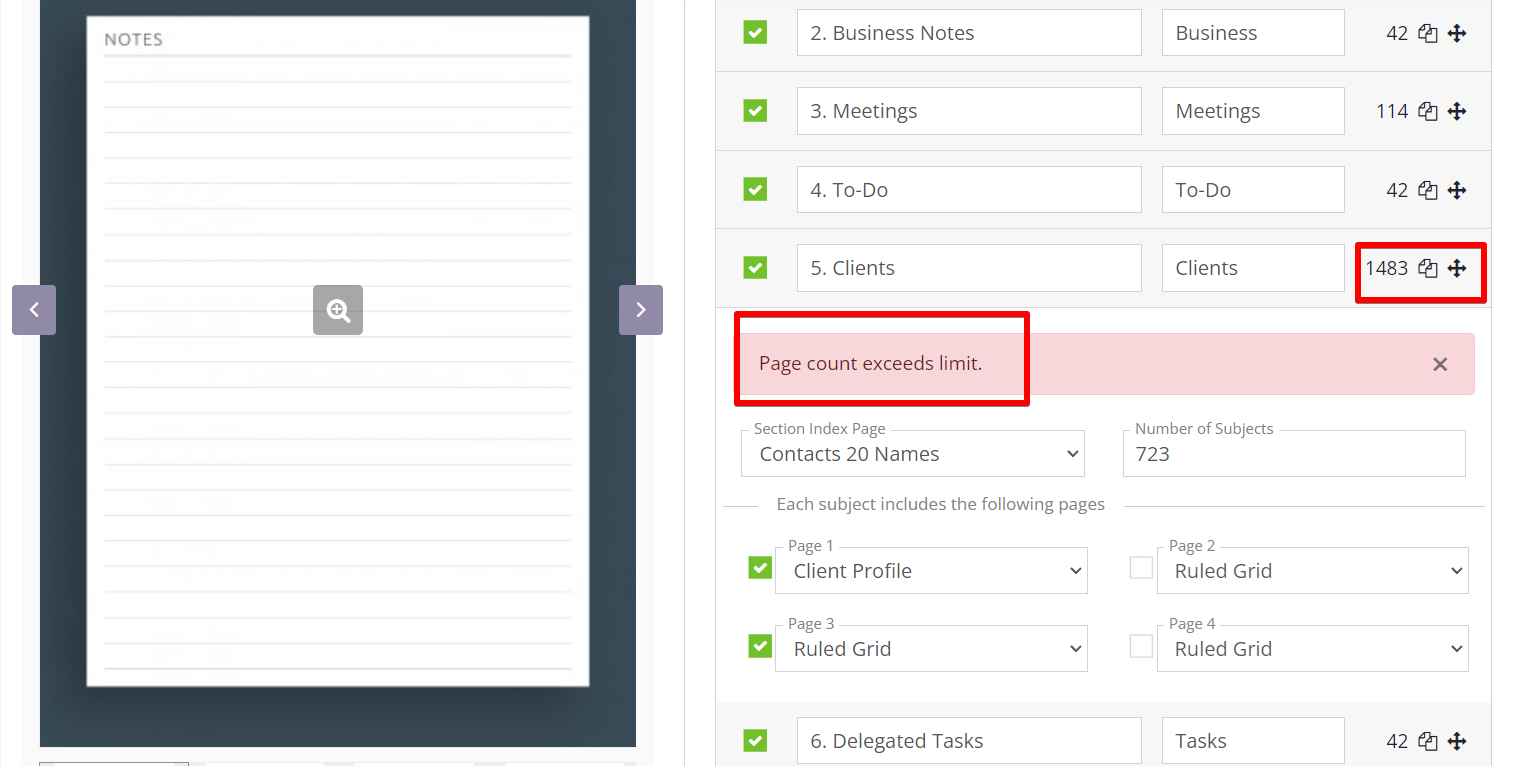
Each section has the number of pages indicated to the right of the tab title. The total number of pages and the page limit are indicated underneath the last section. If you exceed the limit, the message 'Page count exceeds limit' will come out, so you can adjust immediately.
Last but not least, you can shuffle the sections as you like. Click and hold on to the four-arrow cursor to the right of the number of section pages and move the whole section up or down the section list.
Ready-to-Use and Customizable Planners
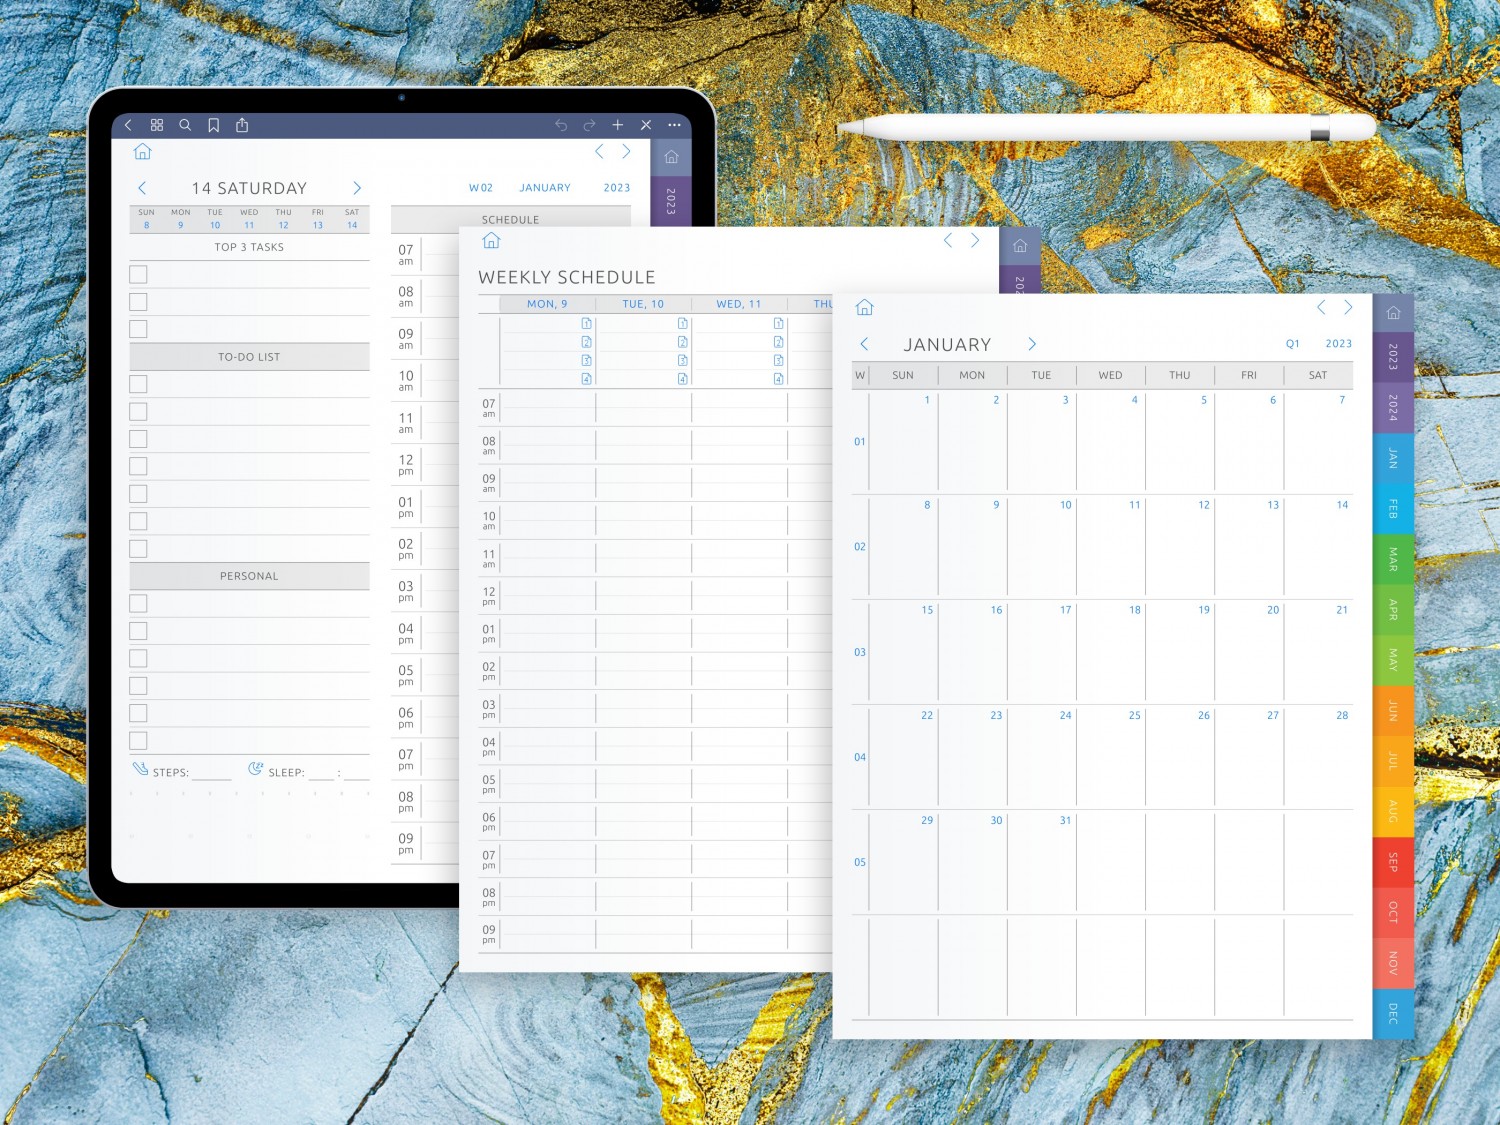
The digital planner is suitable for iPad and Android tablets. The e-ink planners are designed to fit the devices' screens and their features. Enjoy customizing!

Creating Your Digital Planner Design
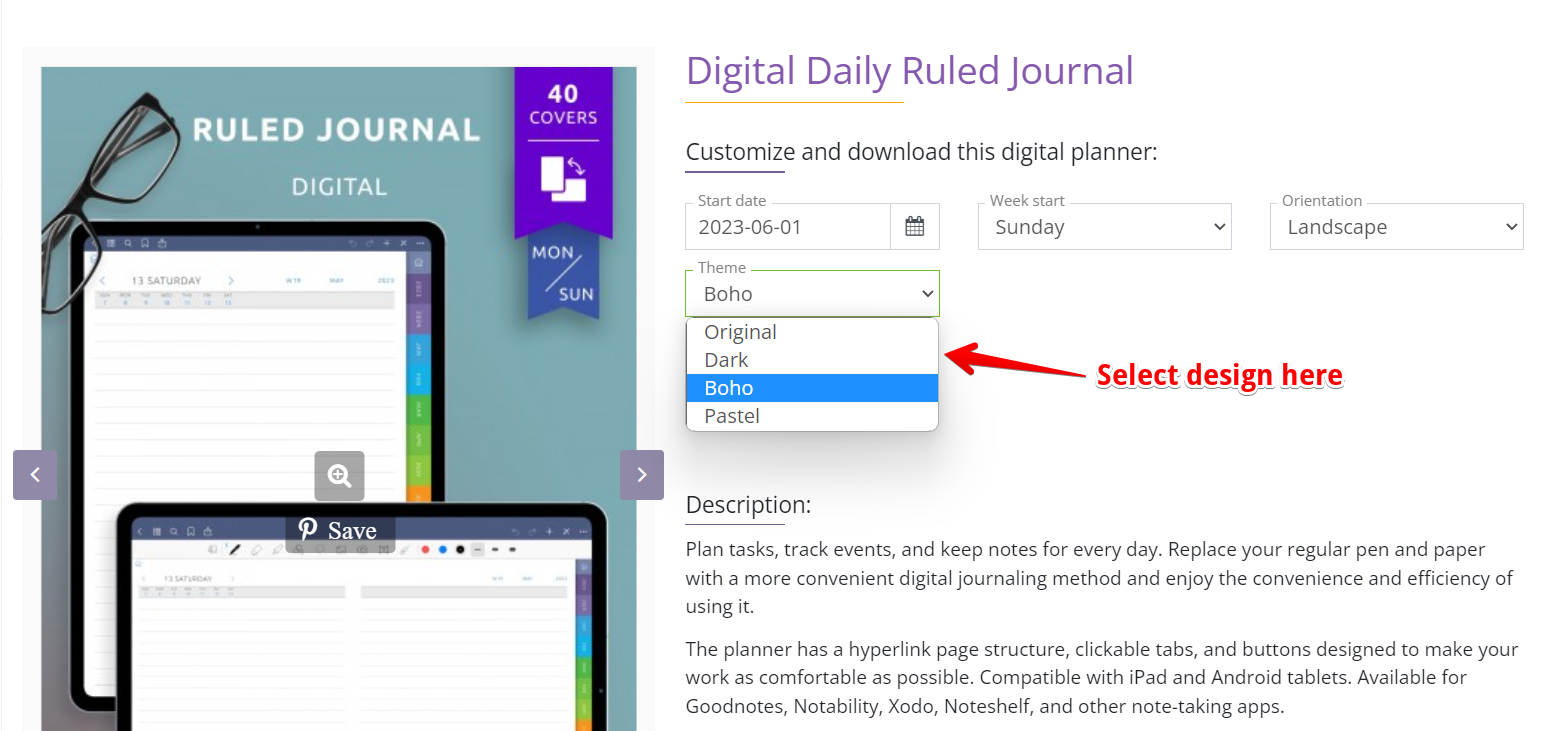
Our platform lets you choose how your planner will look like. There are four color options: Dark, Original, Boho, and Pastel. Set up one of them using only two clicks.
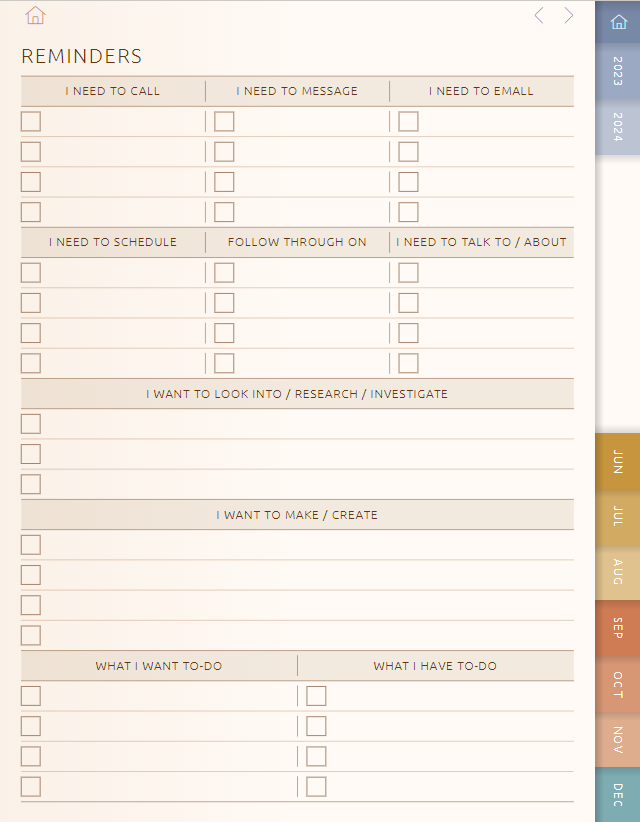
And here is Boho
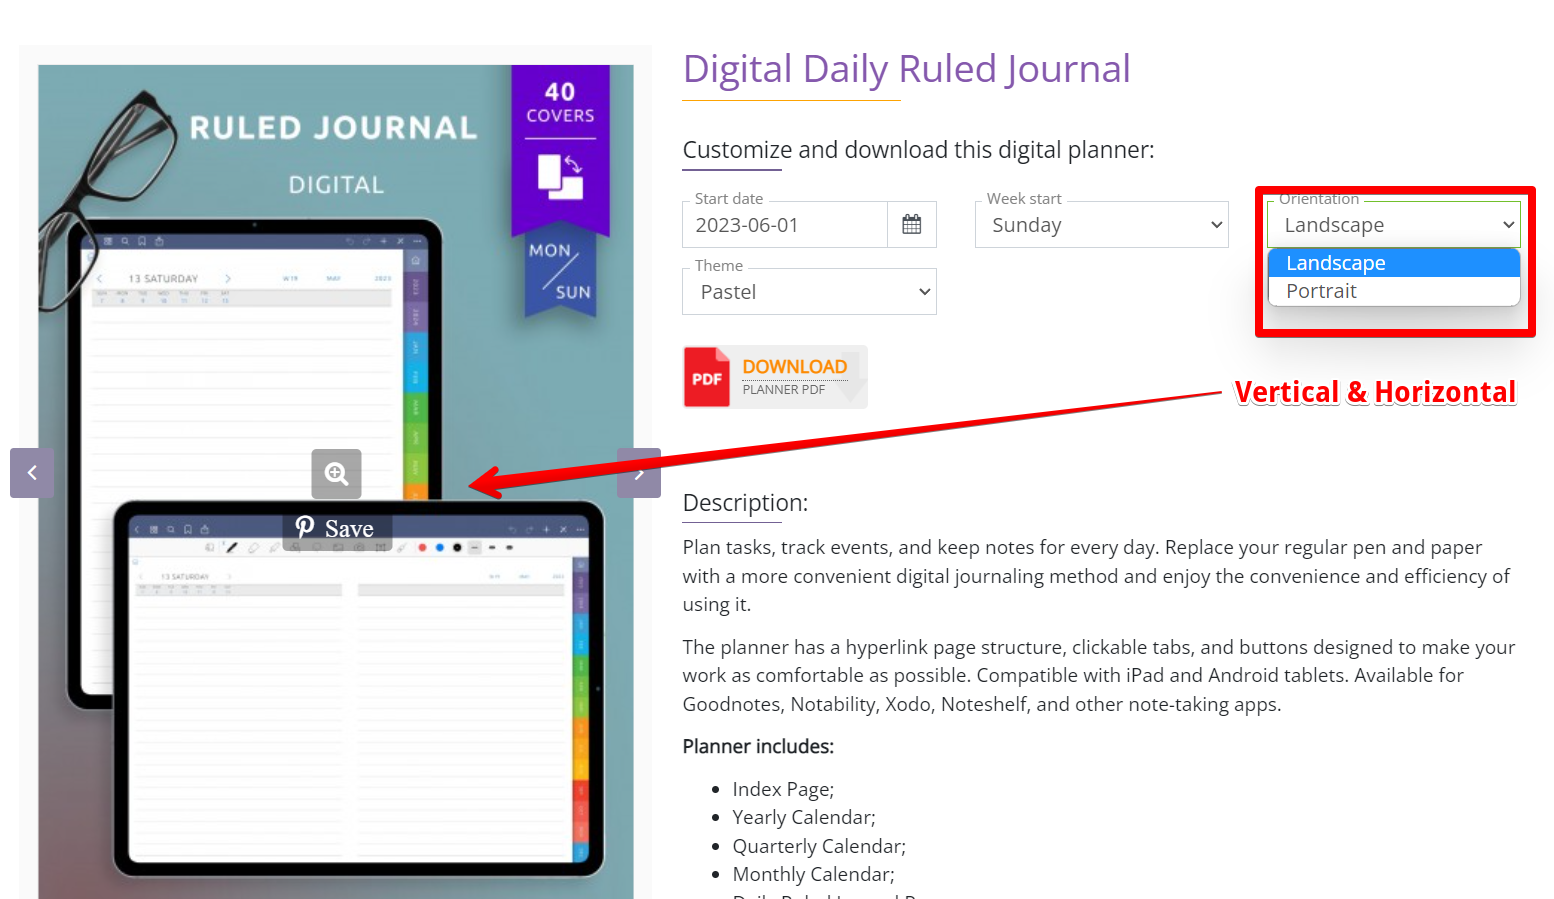
Also, each planner available in two layouts: Portrait and Landscape
Moreover, you can download one of our 800+ PNG templates and use it as a page design for your planner.

This template for example. Only a few clicks and it is uploaded as PDF or PNG file to your tablet or computer storage. Then open the file in your favorite note-taking app e.g. GoodNotes, Notablity, etc., and insert it!
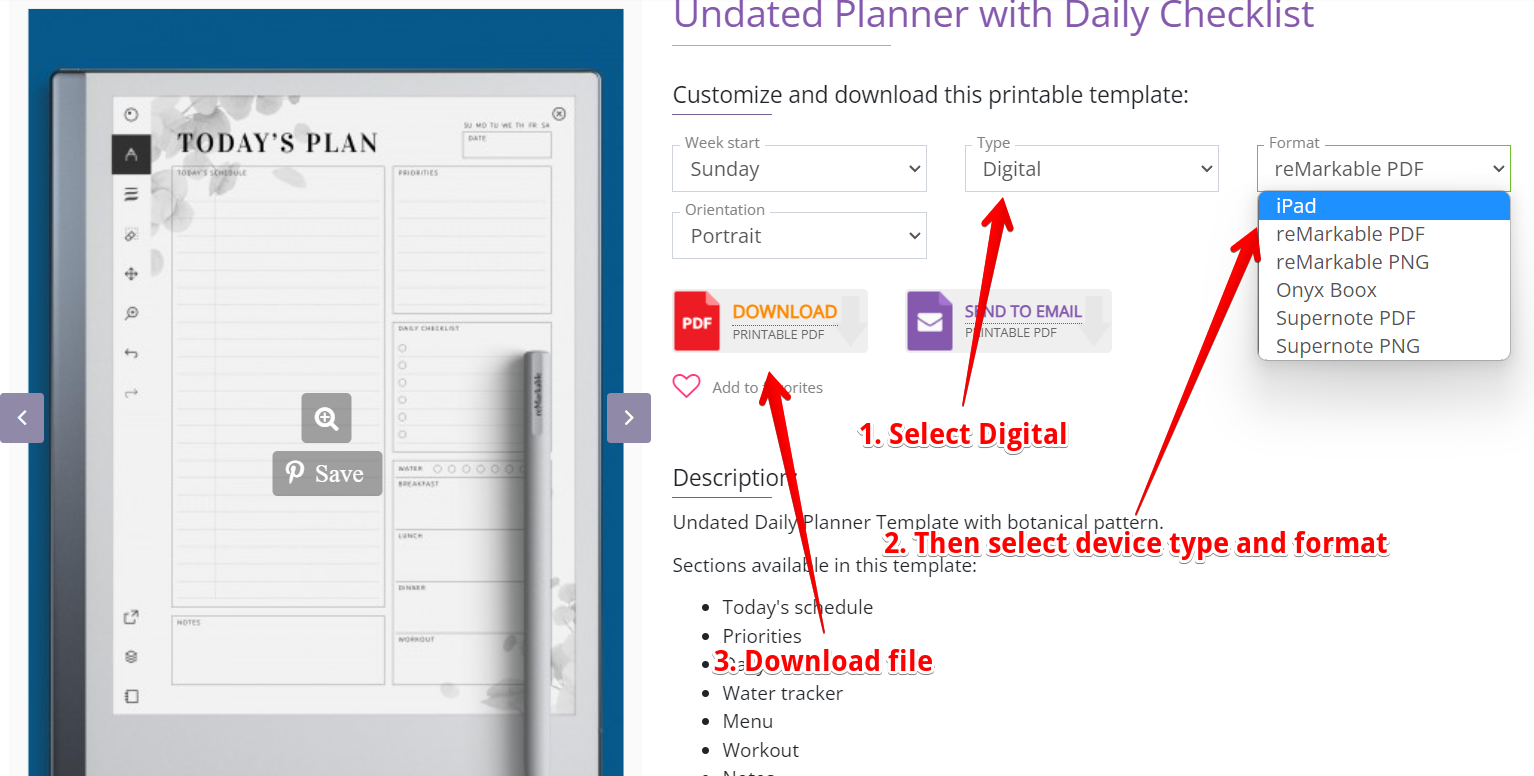
A ready-made source and a bit of imagination make design easier!
How To Create a Digital Planner to Sell?
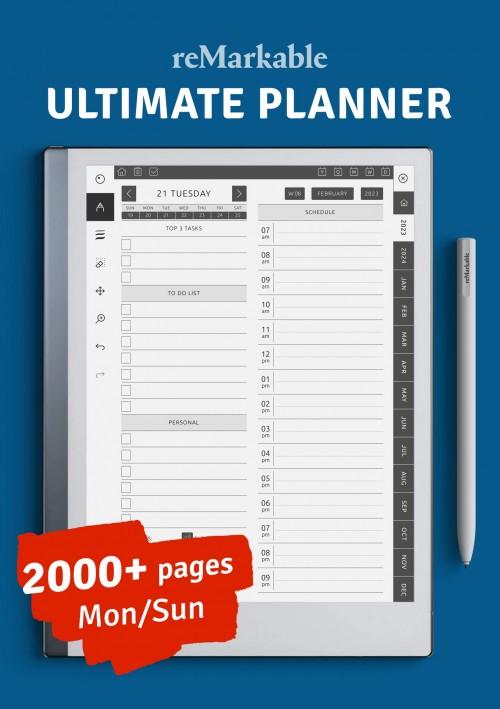
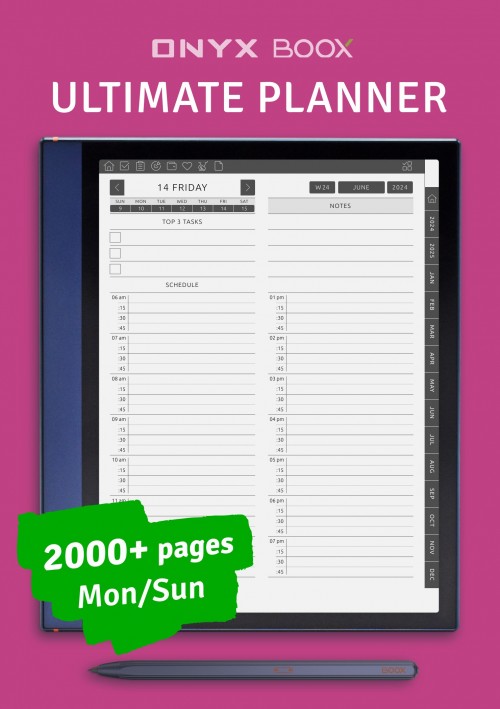
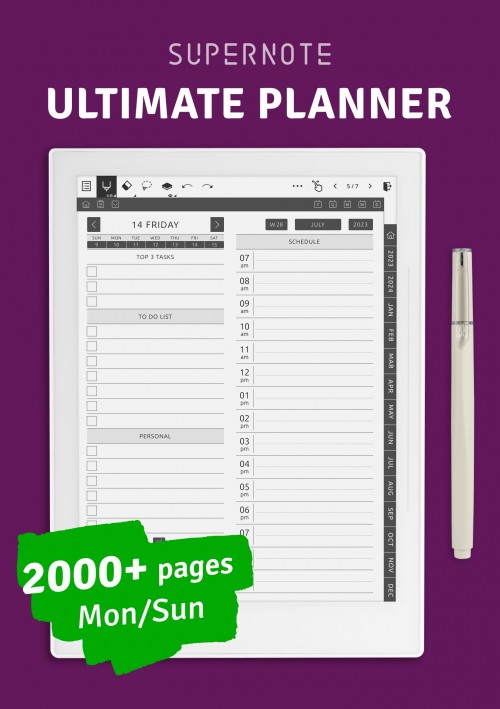
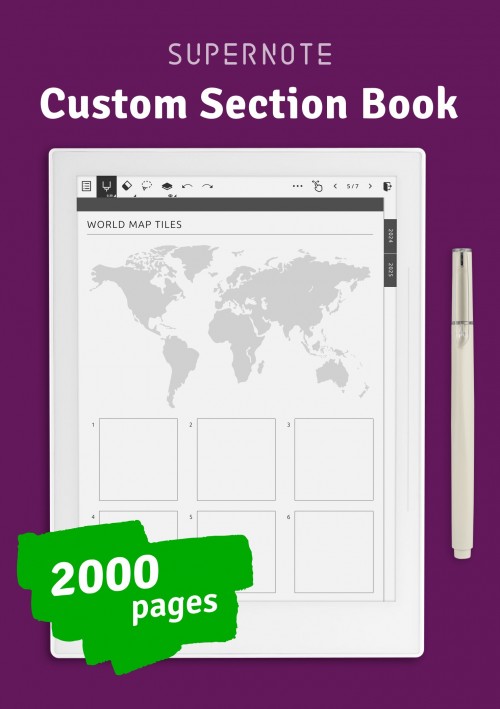
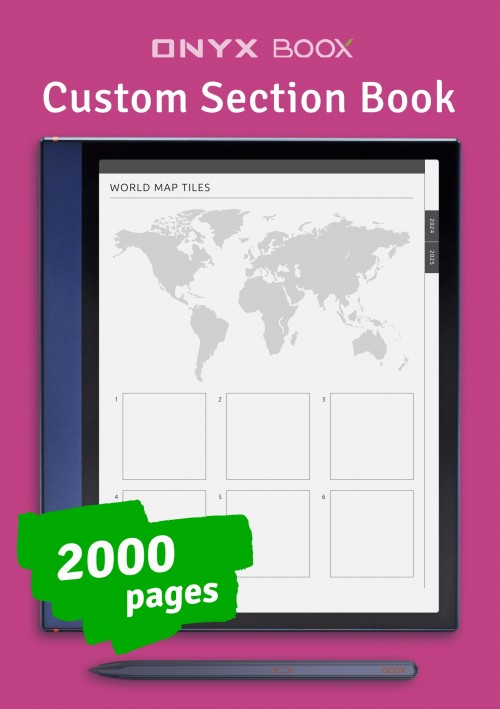
We offer an affiliate program to people who wish to sell our planners. You can use our platform for creating digital planners for e-ink devices to such as reMarkable, Supernote, Boox Note, or Kindle Scribe.
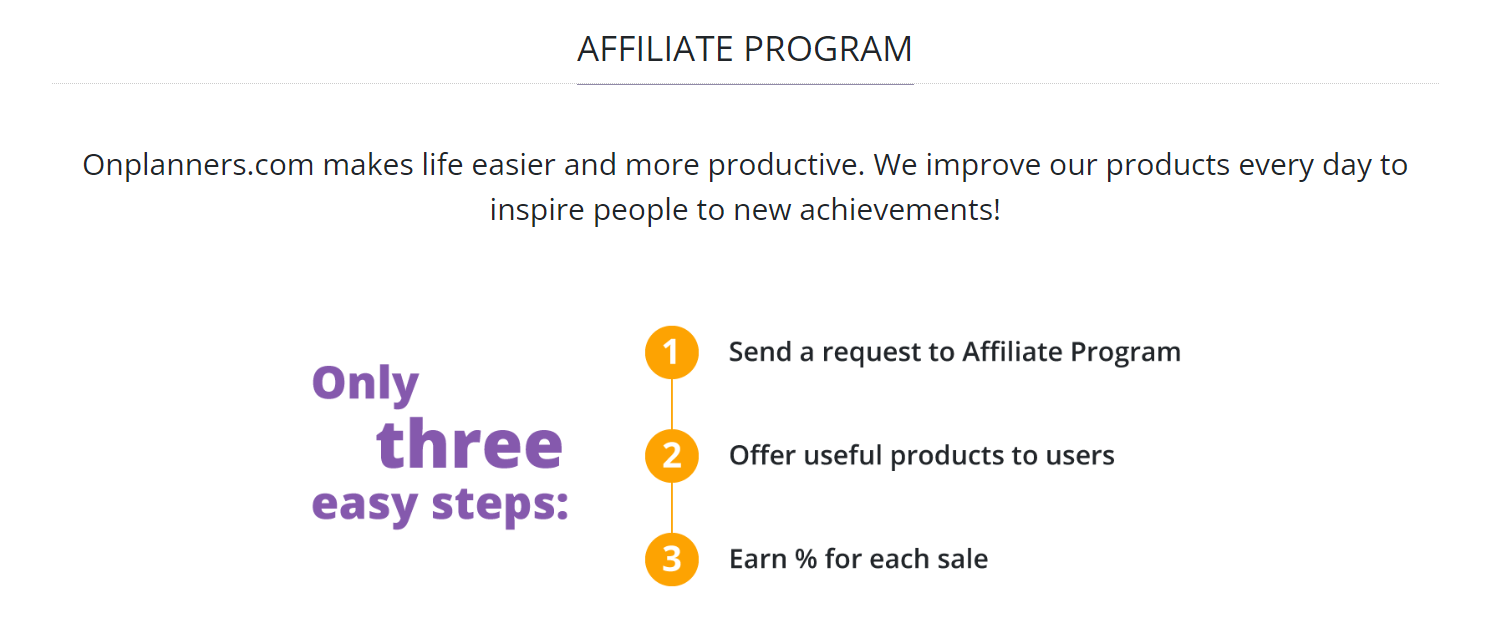
Contact us and start your own successful and no-investment business!
How to Make a Digital Planner With Hyperlinks
We define a digital planner as a convenient and interactive PDF version of a traditional paper planner. This planner has hyperlinks, helpful tabs, and easily customizable features that can be used via special software like Goodnotes on a tablet with a stylus. As with any other digital products, there is a number of apps or programs like Google Slides or Microsoft PowerPoint that let you create digital planners. Before we jump into reviewing the options available, let's analyze what you should consider using any of them.
So, let's review the steps to make your perfect digital planner:
- Plan Your Planner: Before you embark on any project, you should know what its purpose is, and then what ways there are to fulfill it. You can create a daily, weekly, or monthly planner, or for fitness, gratitude, business, budget, or reading layout. Once the purpose is clear, you need to decide what your planner should consist of what templates should be included, special sections, whether monthly calendars are sufficient or yearly calendars should be included, if weekly planners and daily planners are of no use to you, or you need at least a couple of each of them. Maybe, a to-do list, habit tracker, meal, and exercise tracker should be on a one-page template or in their respective sections. What are the names of these sections? The options for creating a planner are endless and depend solely on your needs and imagination. After you plan all the above, you can estimate the number of sections and pages required.
- Set Up the Document: Your device can determine the planner dimensions. However, let’s assume that it is nothing exotic, and you set the planner dimensions to A4 size (210 x 297mm or 3508 x 2480 px) in Google Slides, Microsoft PowerPoint, or any other app. This will work for most devices and ensure consistency for printing if desired.
- Design the Pages: All planner creation apps use shape tools and text boxes to create digital planner pages. You will use squares, rectangles, and text to develop, for example, monthly calendar spreads, and lines for daily planners. However, if you want custom fonts and wish to create something sophisticated, examine the app specifications. This will enable you to know that it can match the level of your intended creation and the amount you wish to pay to do so. The design process is quite fascinating and rewarding, as well as time-consuming. Get creative and incorporate different shapes, colors, and background patterns to make your planner visually appealing. Every digital planner template you create is printable, so you can show it to your friends or loved ones digitally or on paper.
- Create Hyperlinks for Navigation: With many pages in your digital planner, easy navigation is essential, because scroll not is the best solution to navigate throuth hundreds of pages. It should be well-designed and intuitive. If you can’t get from one page to another in a couple of clicks, the core idea of a digital planner is missing. It is impossible to give less vague advice without knowing your planner's idea, but there are general guidelines to follow. You should hyperlink yearly calendars, months, weeks, days, and sections, so seamless navigation between them is present. Create tabs with names or icons and link them to "Master slides" representing each section. Pay close attention to the tabs if your planner is not basic. Link dates in the annual, quarterly, and monthly calendars to corresponding daily planning pages if you have them.
Then, when concept is ready, try the following apps.
Programs To Create Digital Planners
These apps designed not only for planner creating, but making hyperlinked PDF pages is the main feature that we need. They allow you to create a design, links and export Digital Planners like a file for device. Let's review these apps and they pros and cons. I hope you'll find the best solution and make your own planner. Also, you could make Digital Planner using Canva. However, this is not the best way to go about it.
Google Slides
Although one could argue that Google Slides offers only basic design tools compared to other apps on our list, Google Slides is a free cloud-based software that requires no installation that you can use to create your digital planner as a novice. Google Slides offers various templates and color themes. You can even add images. Also, the templates can be linked for quick and easy navigation. So, Google Slides is the first app you should try for your first planner. You might not notice the absence of more sophisticated features. It's worth noting that you can create digital stickers in Google Slides. It is user-friendly and works for both Apple and Windows users.
PowerPoint
PowerPoint is a more sophisticated design program than Google Slides. It has been around and developed by Microsoft for ages, and, therefore, has a lot to offer. You could be familiar with the program’s interface already, but even if you are a newbie, you can become accustomed to it very soon. As you could guess, it was originally for Windows users; however, PowerPoint has now expanded its reach and can be accessed on mobile devices, including iPads. We highly recommend PowerPoint because it helps create the most visually appealing planners. You are not stuck with default fonts like in Google Slides, have many options to format shapes and icons, and can create digital stickers. This versatile program, available through Microsoft, is priced at $6.99 per month. This although can be a drawback, it is a good value for money. Moreover, the subscription comes with 1TB of cloud storage space, which is quite cheap for cloud storage alone.
Keynote
The Keynote app is an excellent tool for digital planner creation. However, for Mac users only. In a way, it's like an Apple version of PowerPoint. We strongly recommend it if you’re an Apple user. The first thing to note is that Keynote has a free version, which you can use to create planners. It is not the most ideal choice though, for it lacks even basic commands and makes the process a headache for most of us. Another way to make your life miserable, in our view, is to create your planner on your iPad. You should use a desktop or laptop if your goal is something other than spending as much time as you can on your iPad. It is so much faster to add links, edit shapes, and create slides on desktops or laptops.
Adobe InDesign
Adobe InDesign is a powerful program that empowers users to create stunning and customized digital planners that cater to your exact specifications. InDesign lets you easily share content in PDF. It is so powerful and complicated that you will probably need some time to learn how to use it before creating your digital planner. We would not call InDesign a user-friendly or intuitive app because it is highly professional. We believe that you do not require all its features for digital planner creation and do not recommend it to beginners. It is not cheap. You would pay about $60 a month, but there is a free 30-day trial. Nevertheless, if you have a Creative Cloud subscription and use InDesign, you can start creating and utilizing the app without wasting time and money.
Affinity Publisher
If you want to create professionally but are not ready to pay a heavy sum every month, Affinity Publisher is the right app for you. It is professional publishing software like Adobe InDesign offers a range of advanced features for designing publications, document formatting, or creating planner templates. You would not need many of them for designing digital planners. However, we understand that you have your reasons to buy such professional software that requires considerable time to master. So, there is a one-off payment of $75 without a subscription. Affinity Publisher works on all operating systems; you can even buy it for iPad for $20. We won’t discuss the advantages of such programs on iPads again. In conclusion, Affinity Publisher is a great deal for those who want all the bits and pieces and will use it for other things as well.
Conclusion
You see, creating a digital planner templates with hyperlinks is not so hard for people who know how to make presentation in PDF. The harder way is Canva Planner. It requires more knowledge in design, but you need it e.g. for creating your own stickers. You can always find inspiration in our planner collection if you decide to create your digital planner from scratch. We take pride in our customization options. The Digital Ultimate Planner, for instance, offers dozens of templates to customize daily, weekly, and monthly pages in its Settings and Layouts. Make your best digital planner and we hope you enjoy it.